Zinc Plating on the Cheap
Posted in Other Tinkering
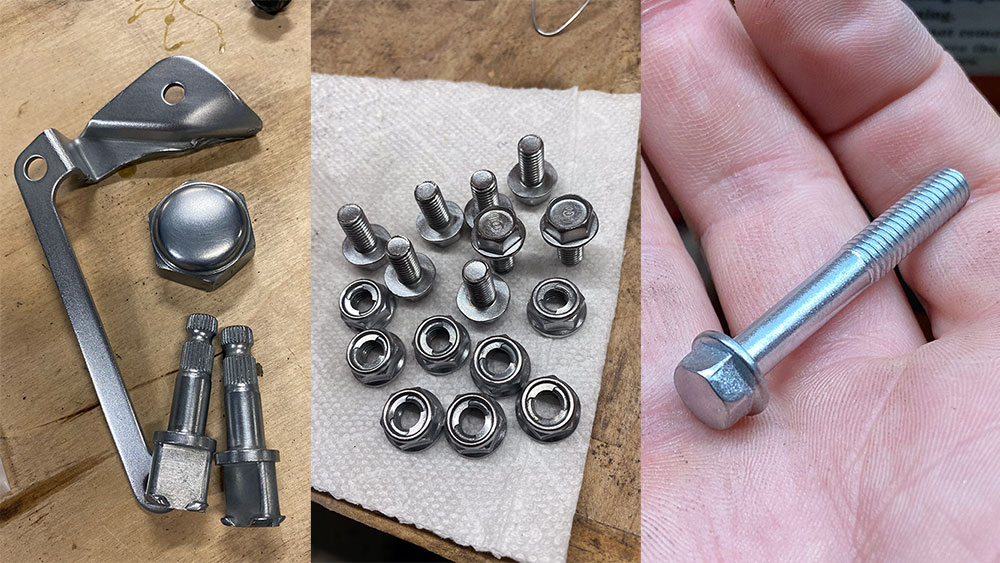
Recently, I took on a project to restore a little Honda Z50R motorcycle for my son for Christmas. Ive always worked on motorcycles, and my father restores vintage dirt bikes so I was comfortable taking on the project. However, I try to learn something with each project, and this one was no different. Instead of…