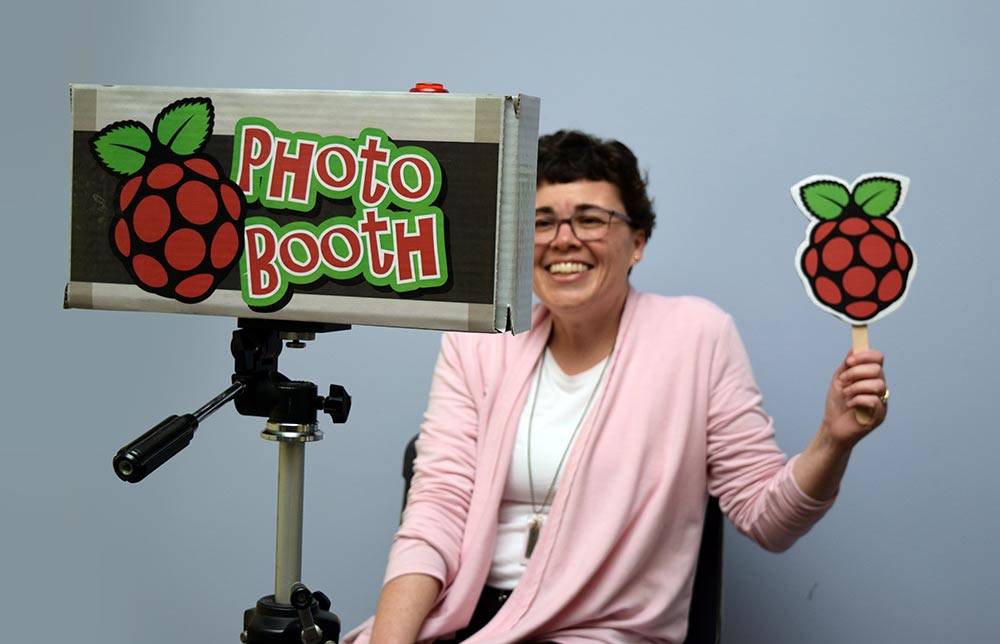
Building a Raspberry Pi Powered Photo Booth
As part of the Raspberry Pi 3 Model B+ product launch at work, all the business units had small internal launch events with cake, etc. I thought it would be neat to build a photo booth using a Pi and set it up as part of the event.
There are many tutorials out there, for which I’m thankful, as this idea came about the day before our internal launch event! Huge thanks to Jack Barker for doing all the heavy lifting in Python. In fact, because he did such a good job, I’m not going to focus on the code portion of the build – rather just the physical build.
BOM:
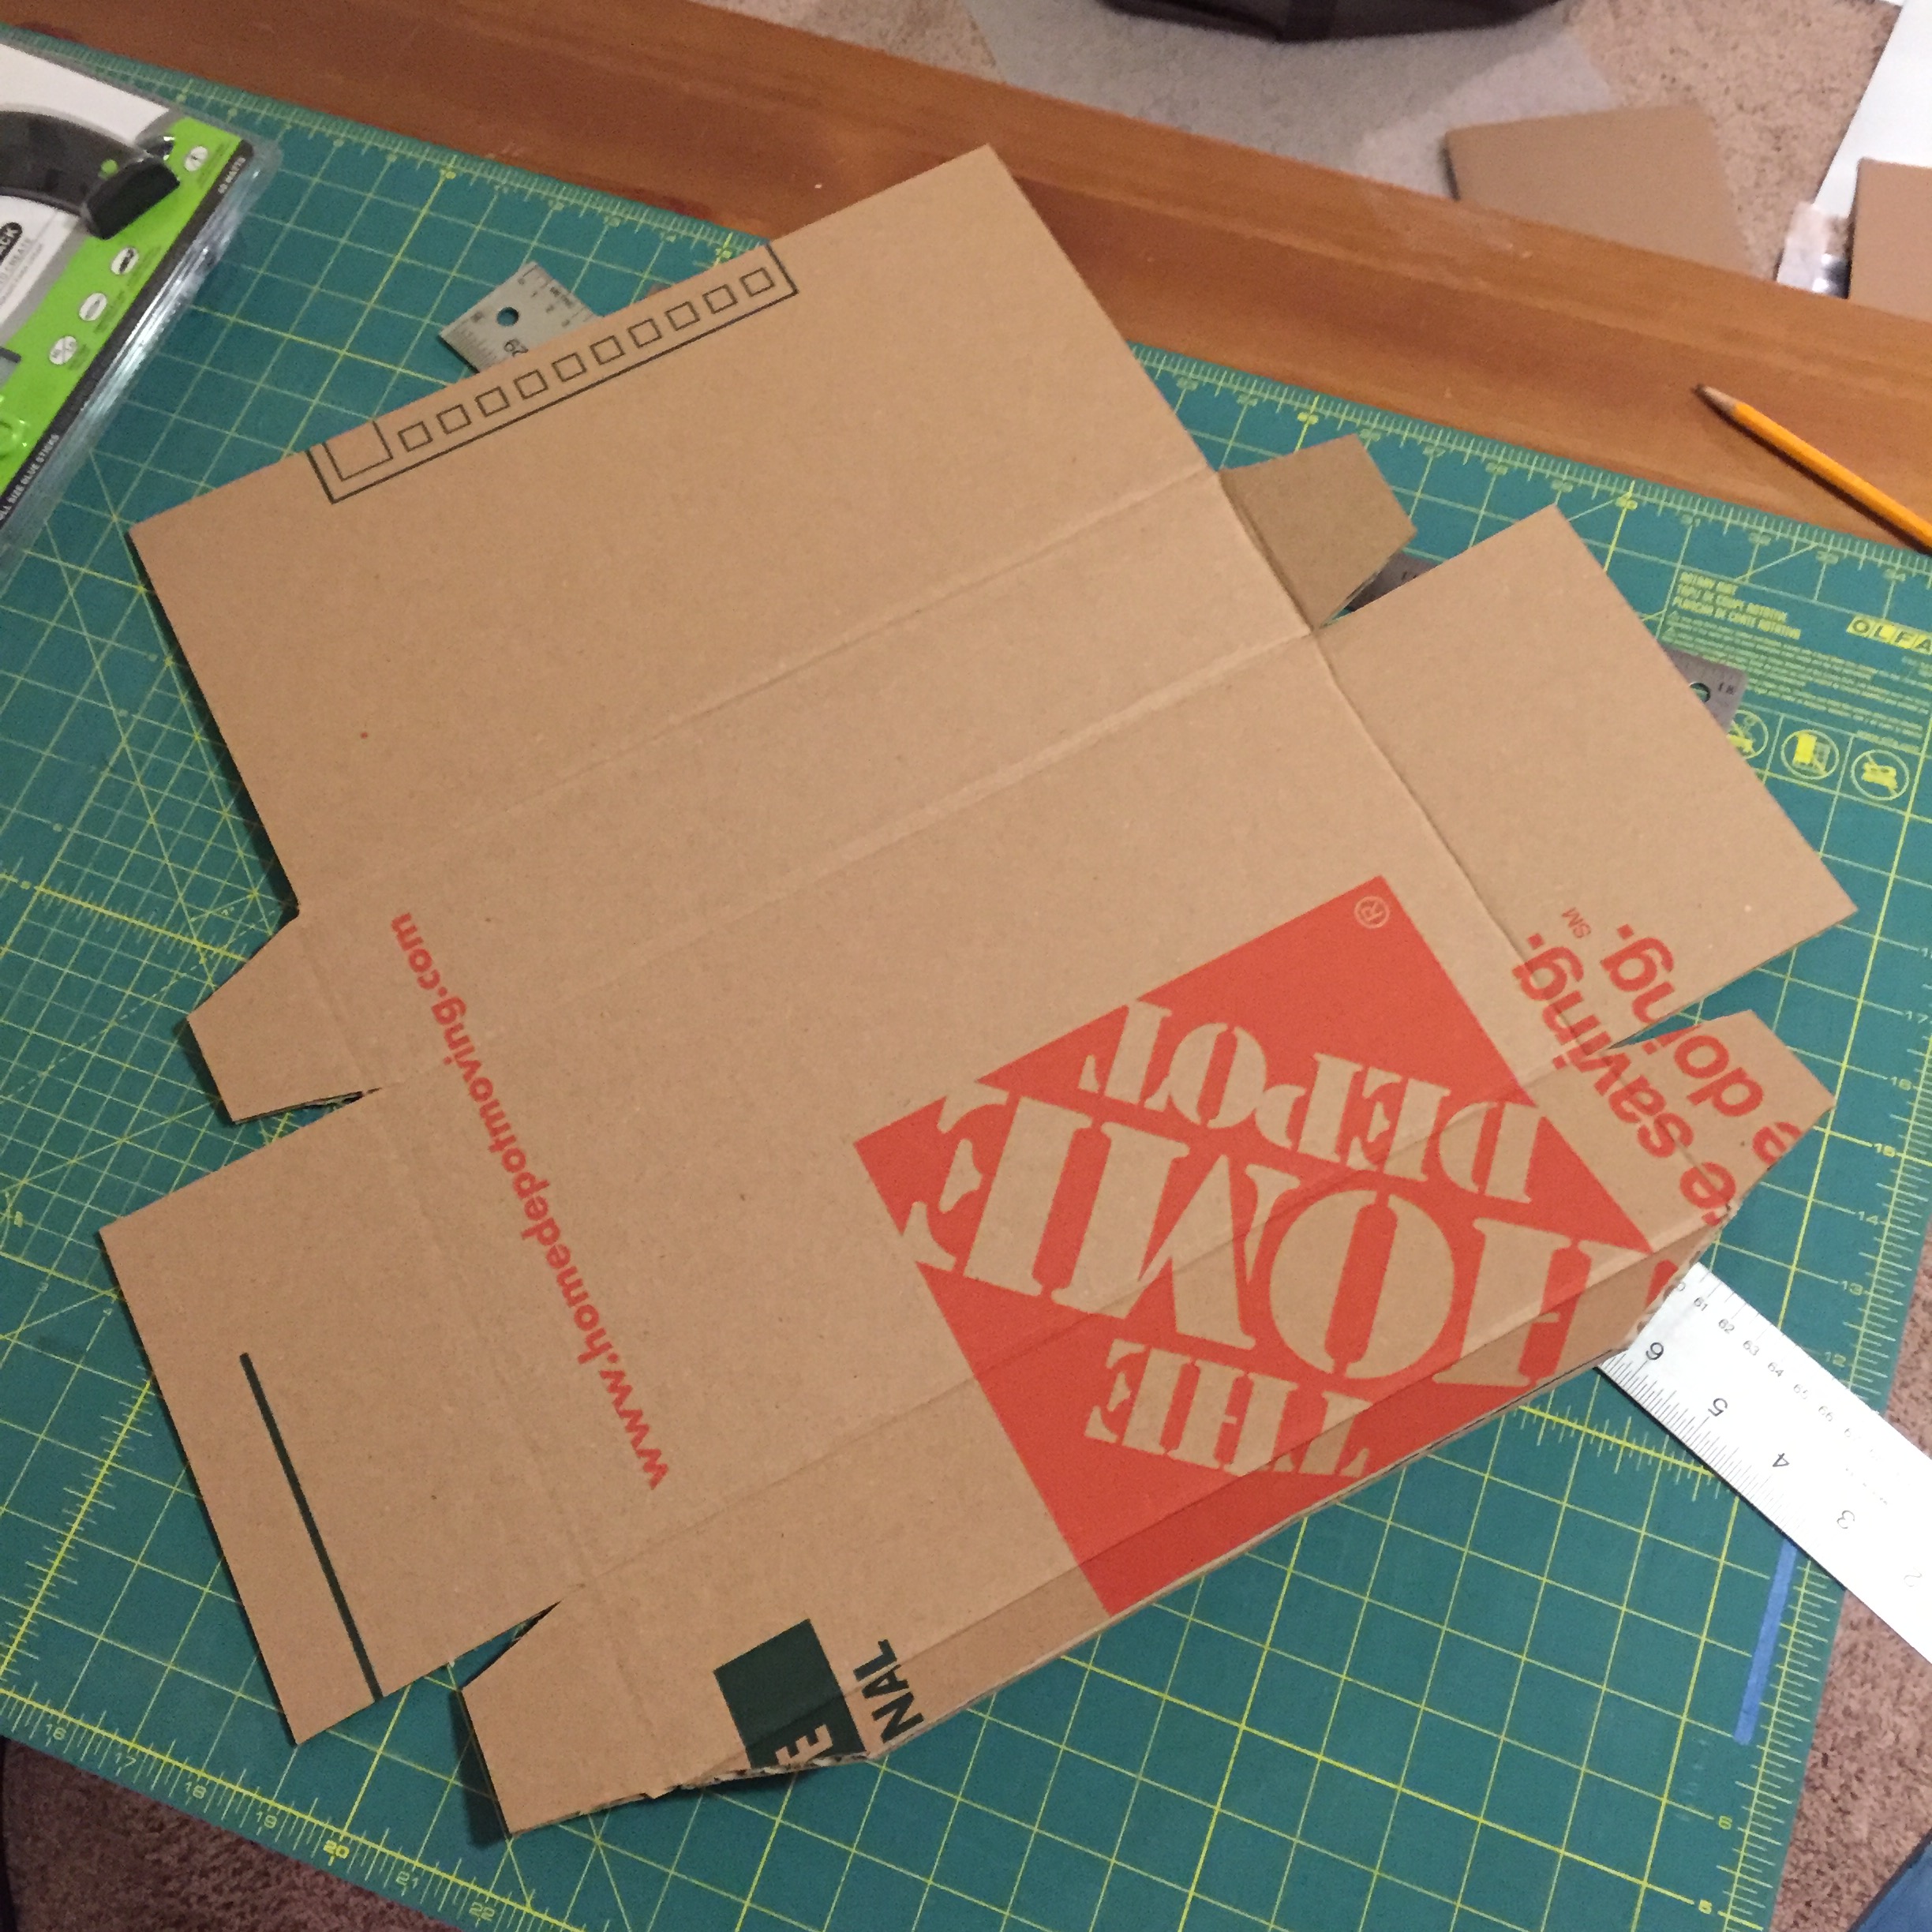
- 22 x 22.5″ sheet of cardboard
- Raspberry Pi
- Camera module
- Touchscreen
- 3mm screws to mount screen
- Arcade button
- Misc jumper wires
- Some scrap plastic or acrylic (optional)
- A 1/4 20 nut for mounting to a tripod (optional)
Supplies:
- Hot glue gun
- Printer to print graphics
- Spray adhesive to apply printed graphics
- Xacto knife
- Ruler
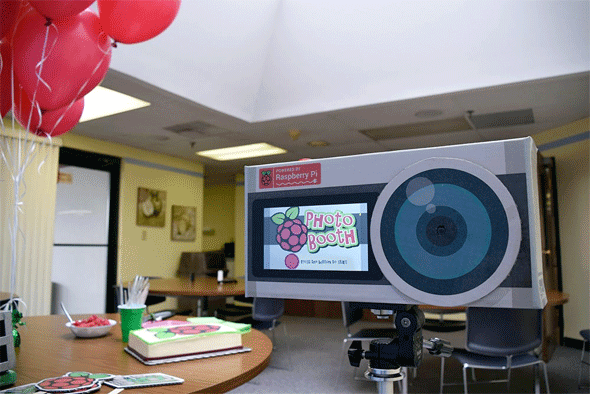
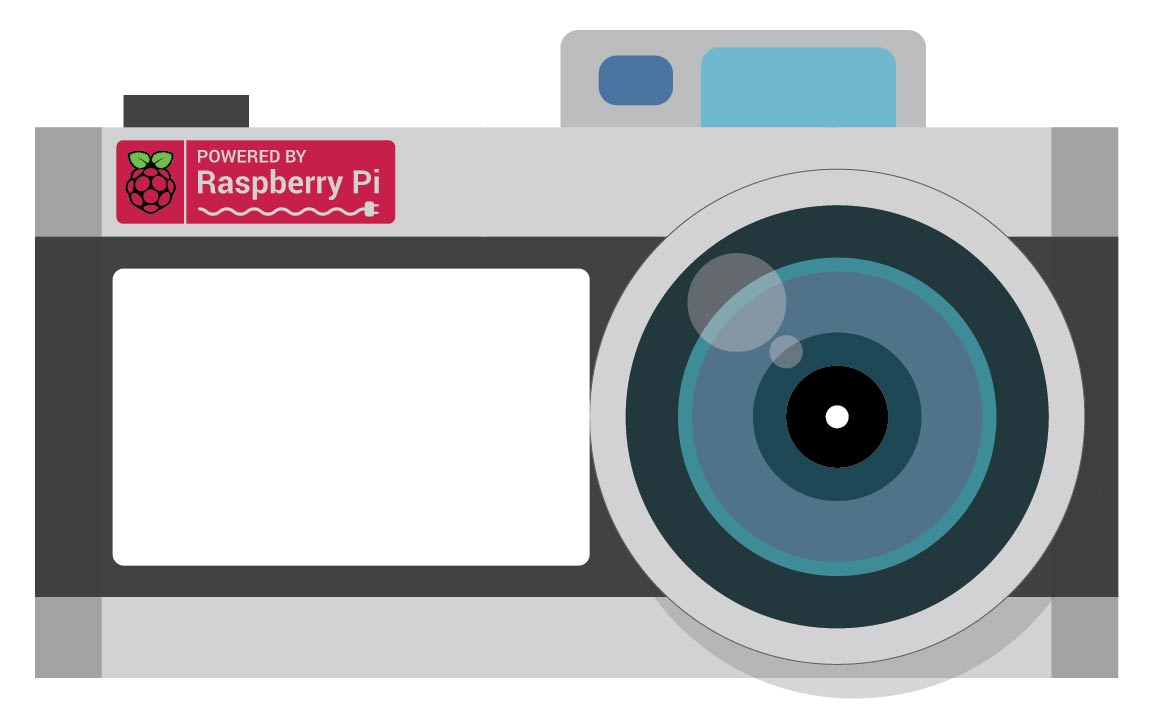
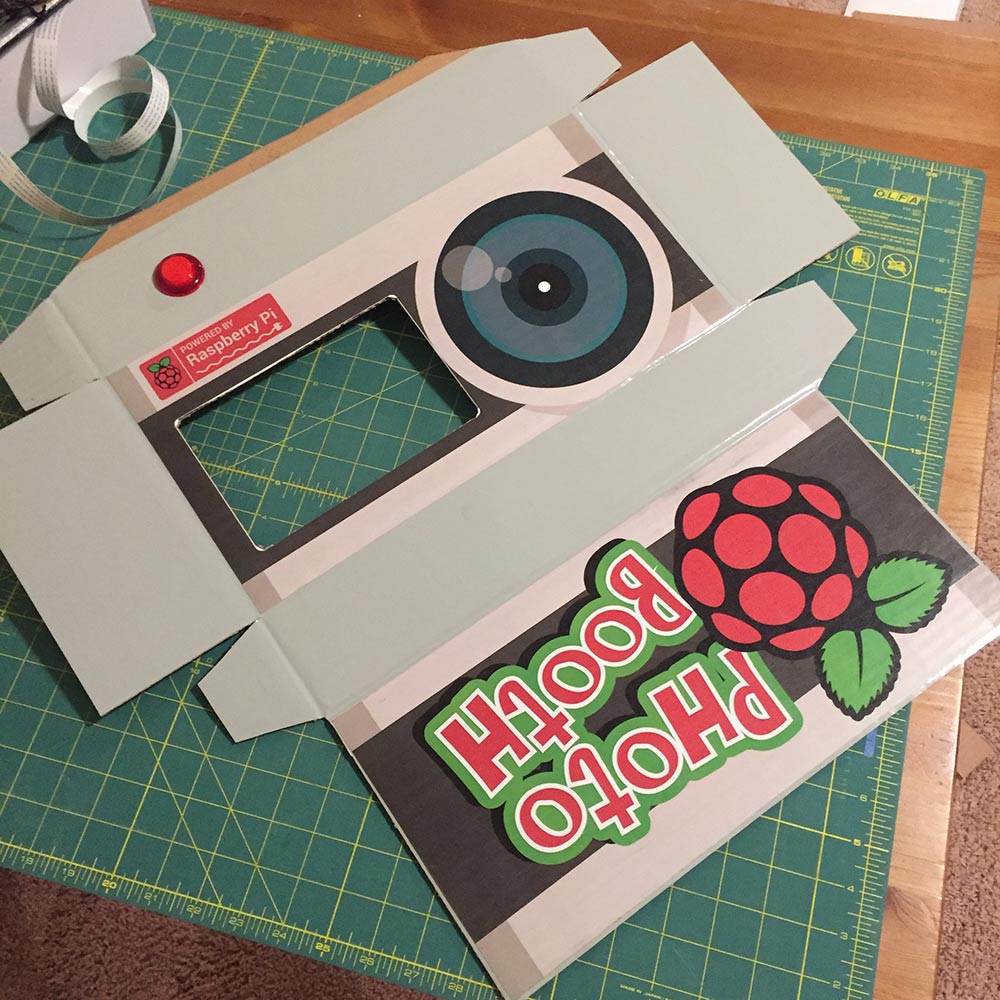
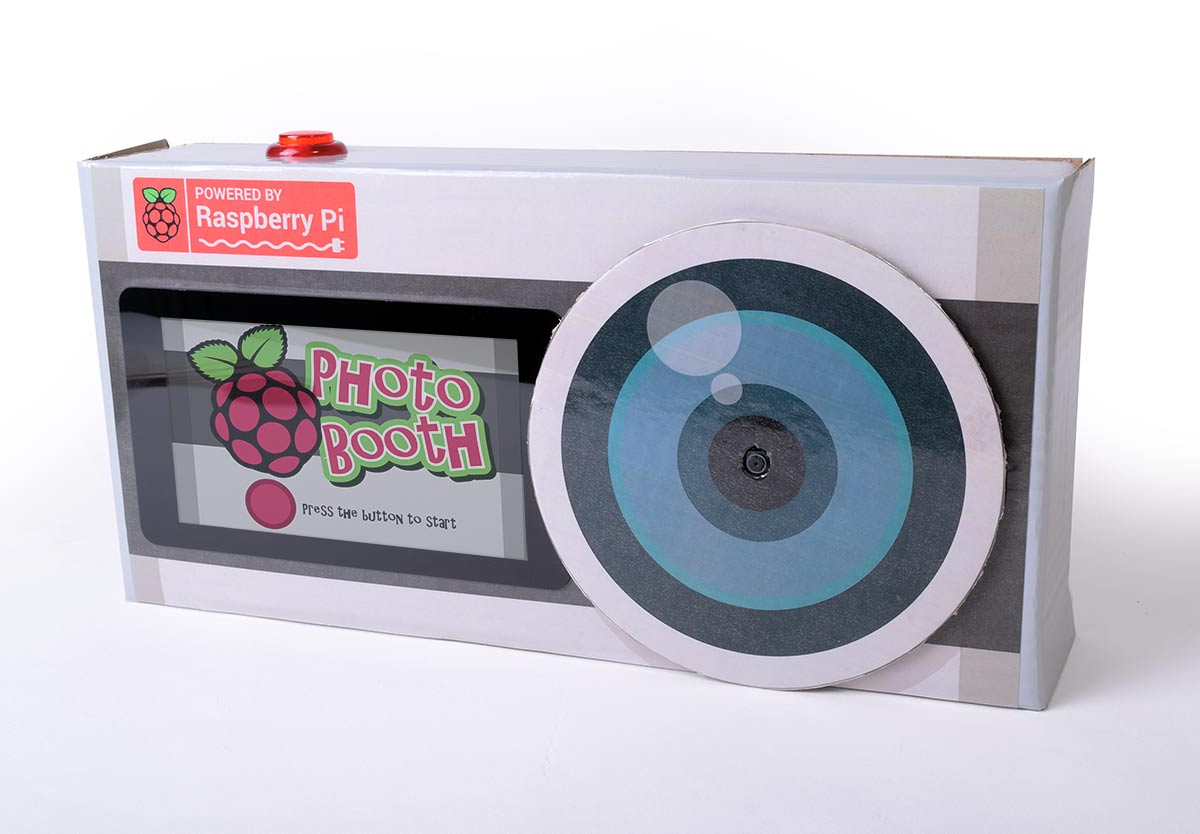
While installing and testing the code from Jack Barker while the Pi was on my bench, I did a rough design of what I wanted the enclosure to look like. In Jack’s project, there are images that can be replaced which display on the touchscreen and sort of guide the user through the process. I redesigned these to match the outside look of the box.
Next, I mapped out the box on a large piece of cardboard to match the dimensions from the illustration. I targeted 3″ deep x 15″ wide x 7.5″ tall. This gave plenty of room inside for the touchscreen, Pi, camera, as well as a USB power bank to power the unit. You can download a PDF template here.
At this point, I covered the cardboard with my printed graphics and cut all necessary holes.
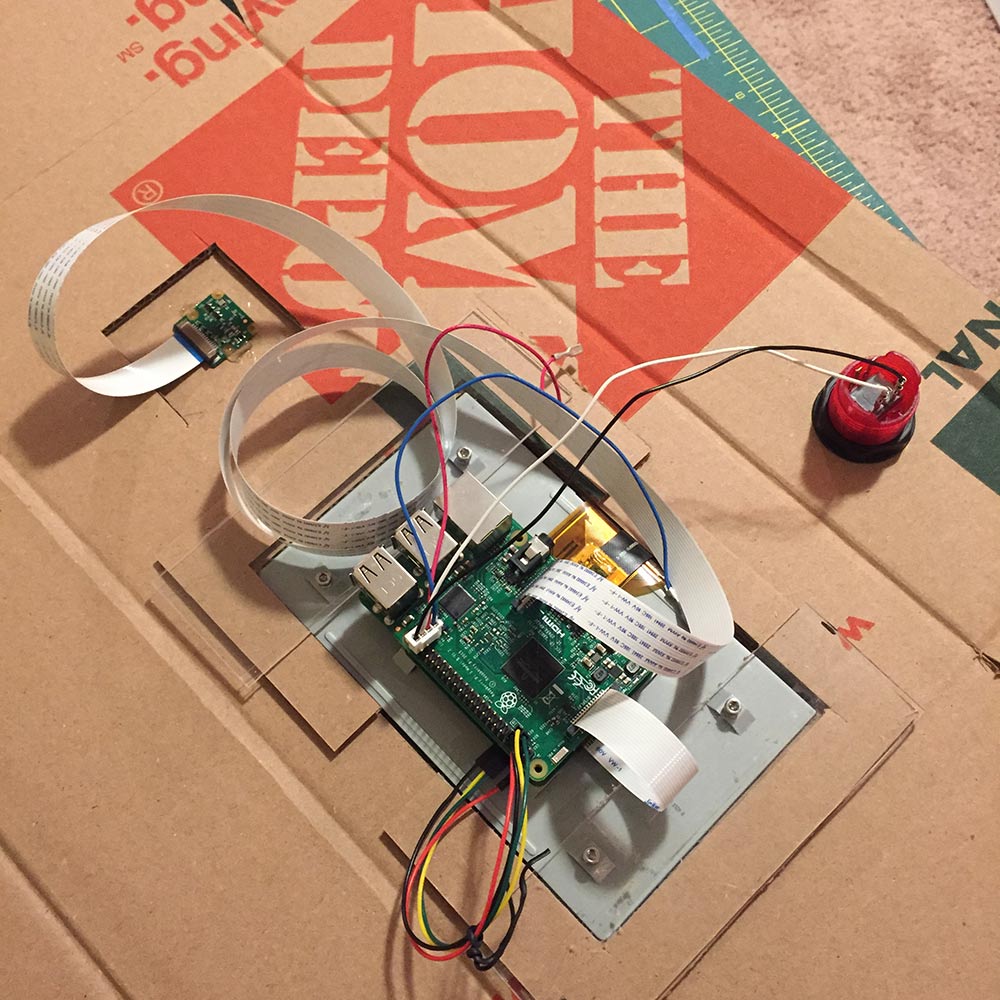
…and then mounted the touchscreen (if you need help hooking the touchscreen up to the Pi, see this tutorial, and this tutorial to get the camera up and running). It was necessary to add some layers of cardboard to the inside of the box to ensure the screen would mount tightly against the outside. I used a few scraps of acrylic to sandwich the screen to the box. I also hot glued the camera in place and installed the button.
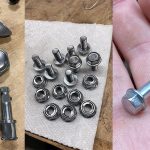
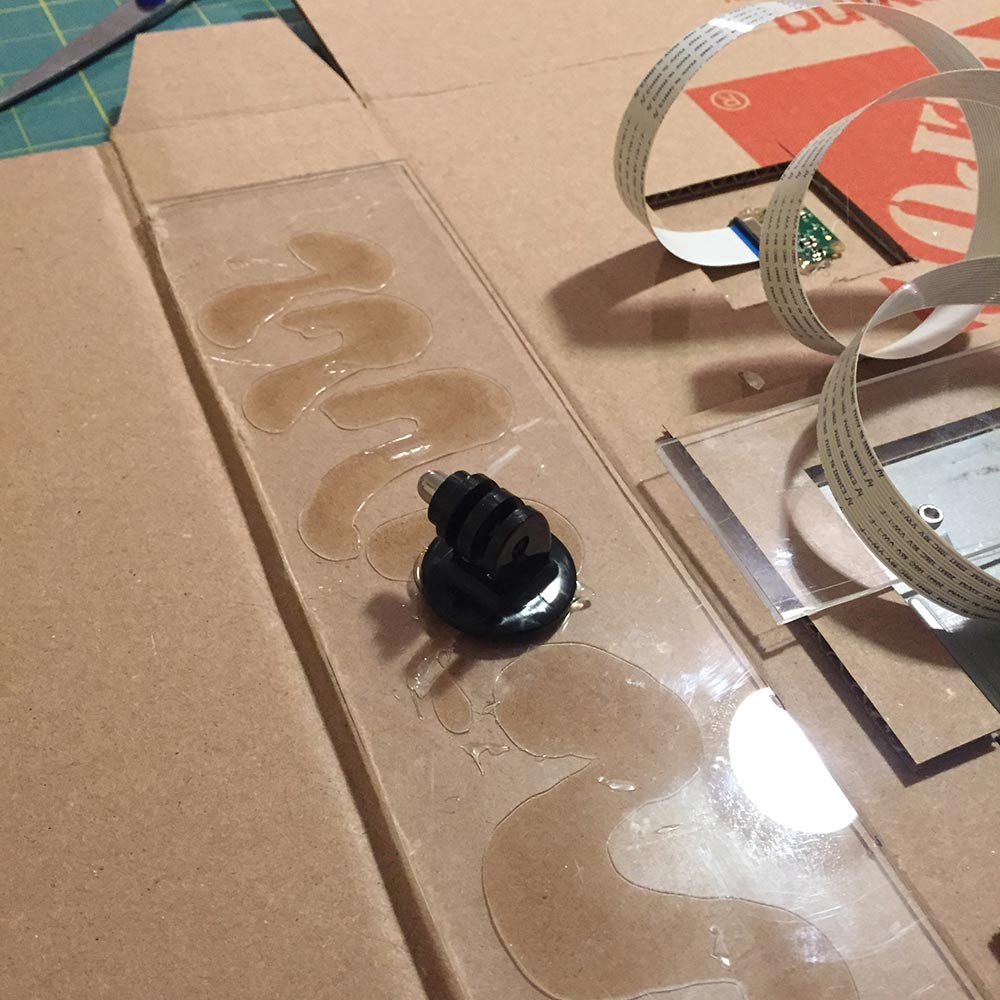
The last thing I did was to reinforce the bottom of the box with more acrylic, drilled a hole and mounted a 1/4 20 nut to accept a tripod bolt for mounting on a tripod (I actually used a GoPro tripod mount, as it was laying around).
Before assembling the box, I recommend testing your code to ensure everything is working properly. Things get too tight for hands once the box is assembled. If everything is good to go, slap some hot glue on the glue tab and assemble the box.
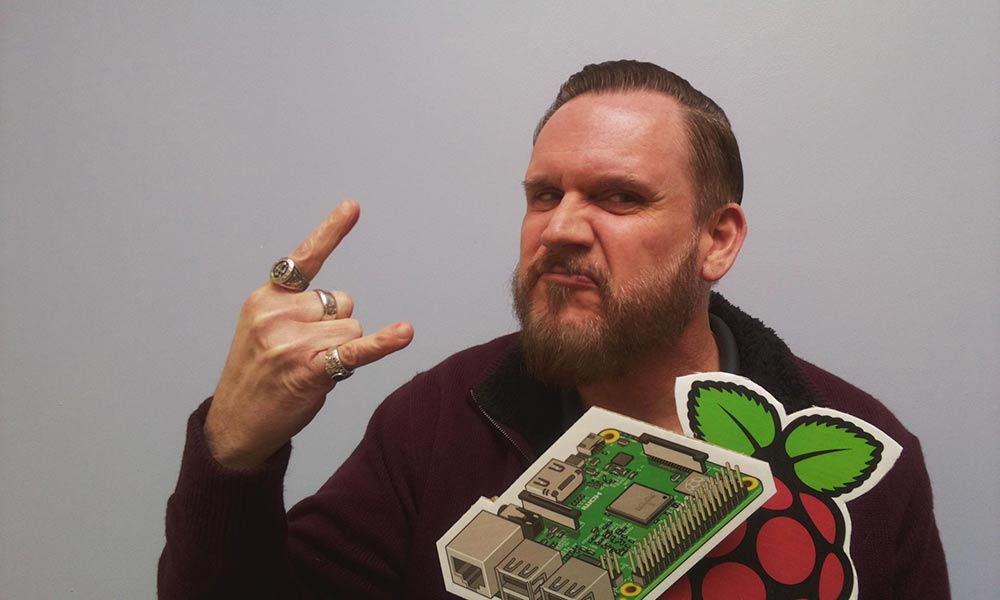
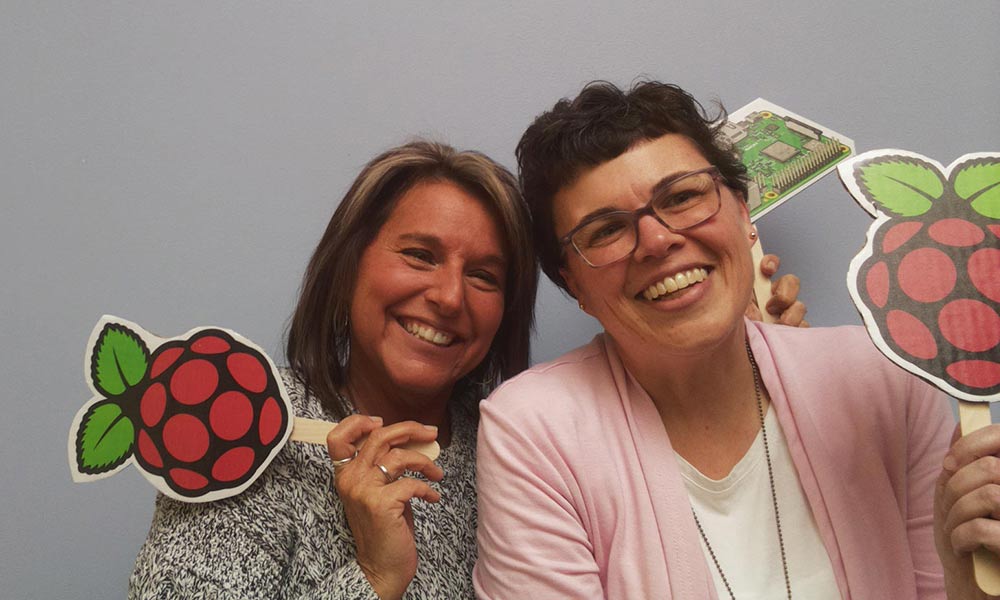
It went over well at the event, and I think everyone got a chance to try it.