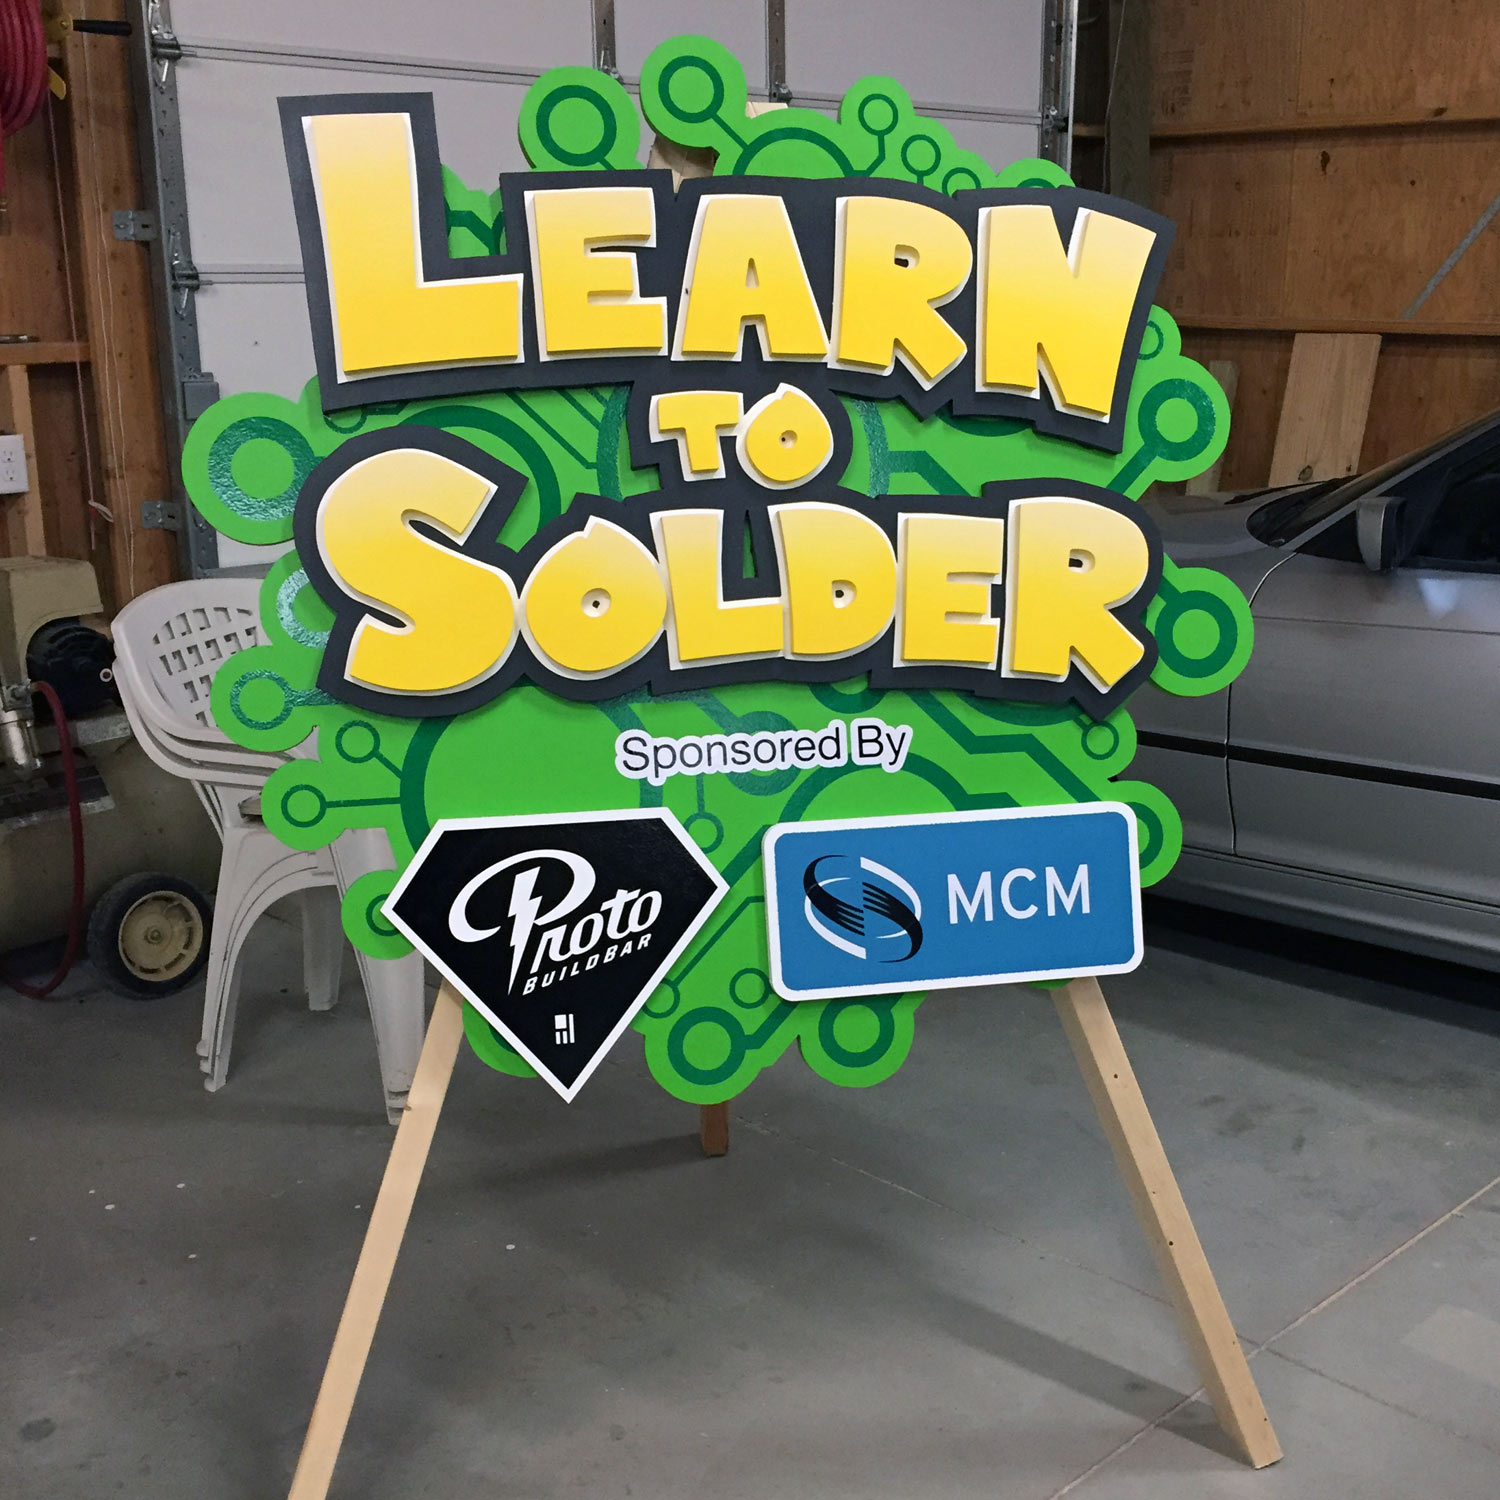
Learn to Solder Sign
The inaugural Dayton Mini Maker Faire is coming up an a couple weeks at Carillon Park. MCM and Proto Build Bar are playing a huge role in putting the event on. In addition to manning the Boneyard Buildoff and 3D Printing Pavilion, they’re also teaming up to host the Learn to Solder booth at the Faire. As such, they needed an awesome sign to ensure the booth stood out. I got to design and build a 4ft x 4ft sign that would appeal to all ages and draw attention.
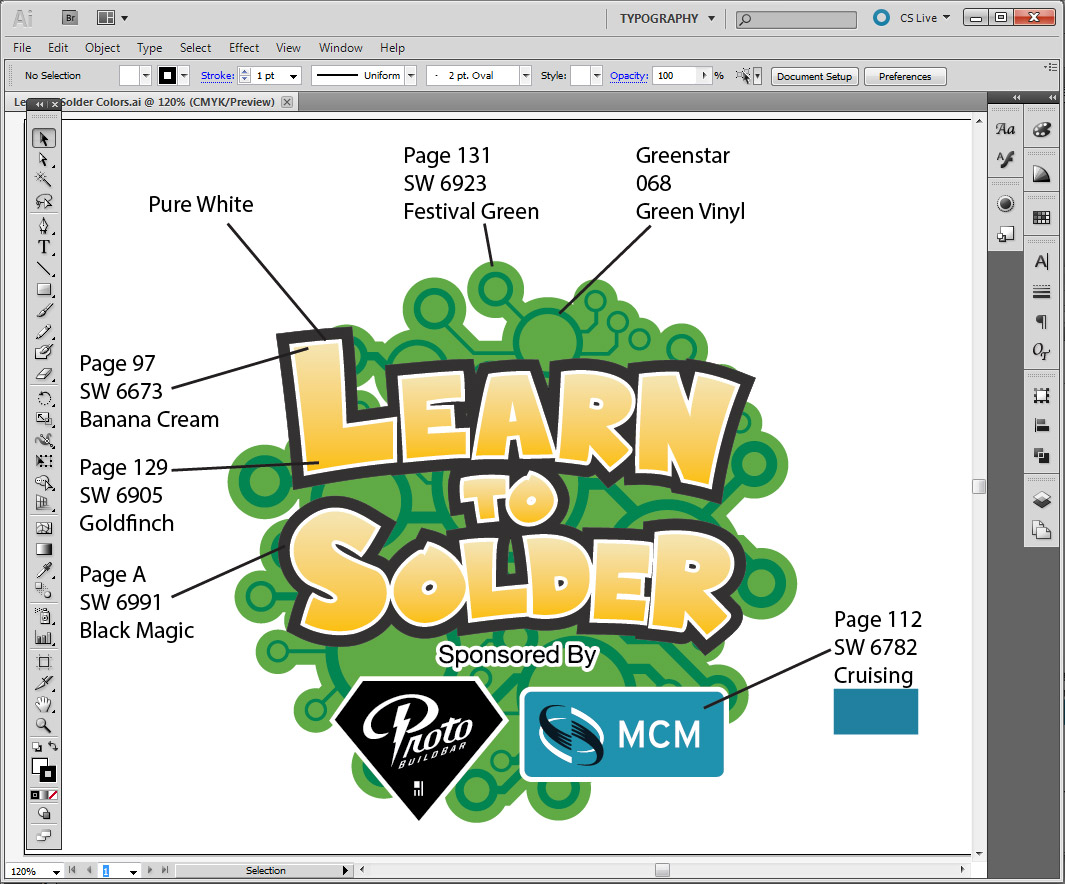
It started with some light sketches, then moved to Illustrator. The design ended up with multiple layers – a substrate in the back that mimics a circuit board, then three layers of letters on top.
The material would be 3/4″ MDO. Cheap. Readily available. Weatherproof.
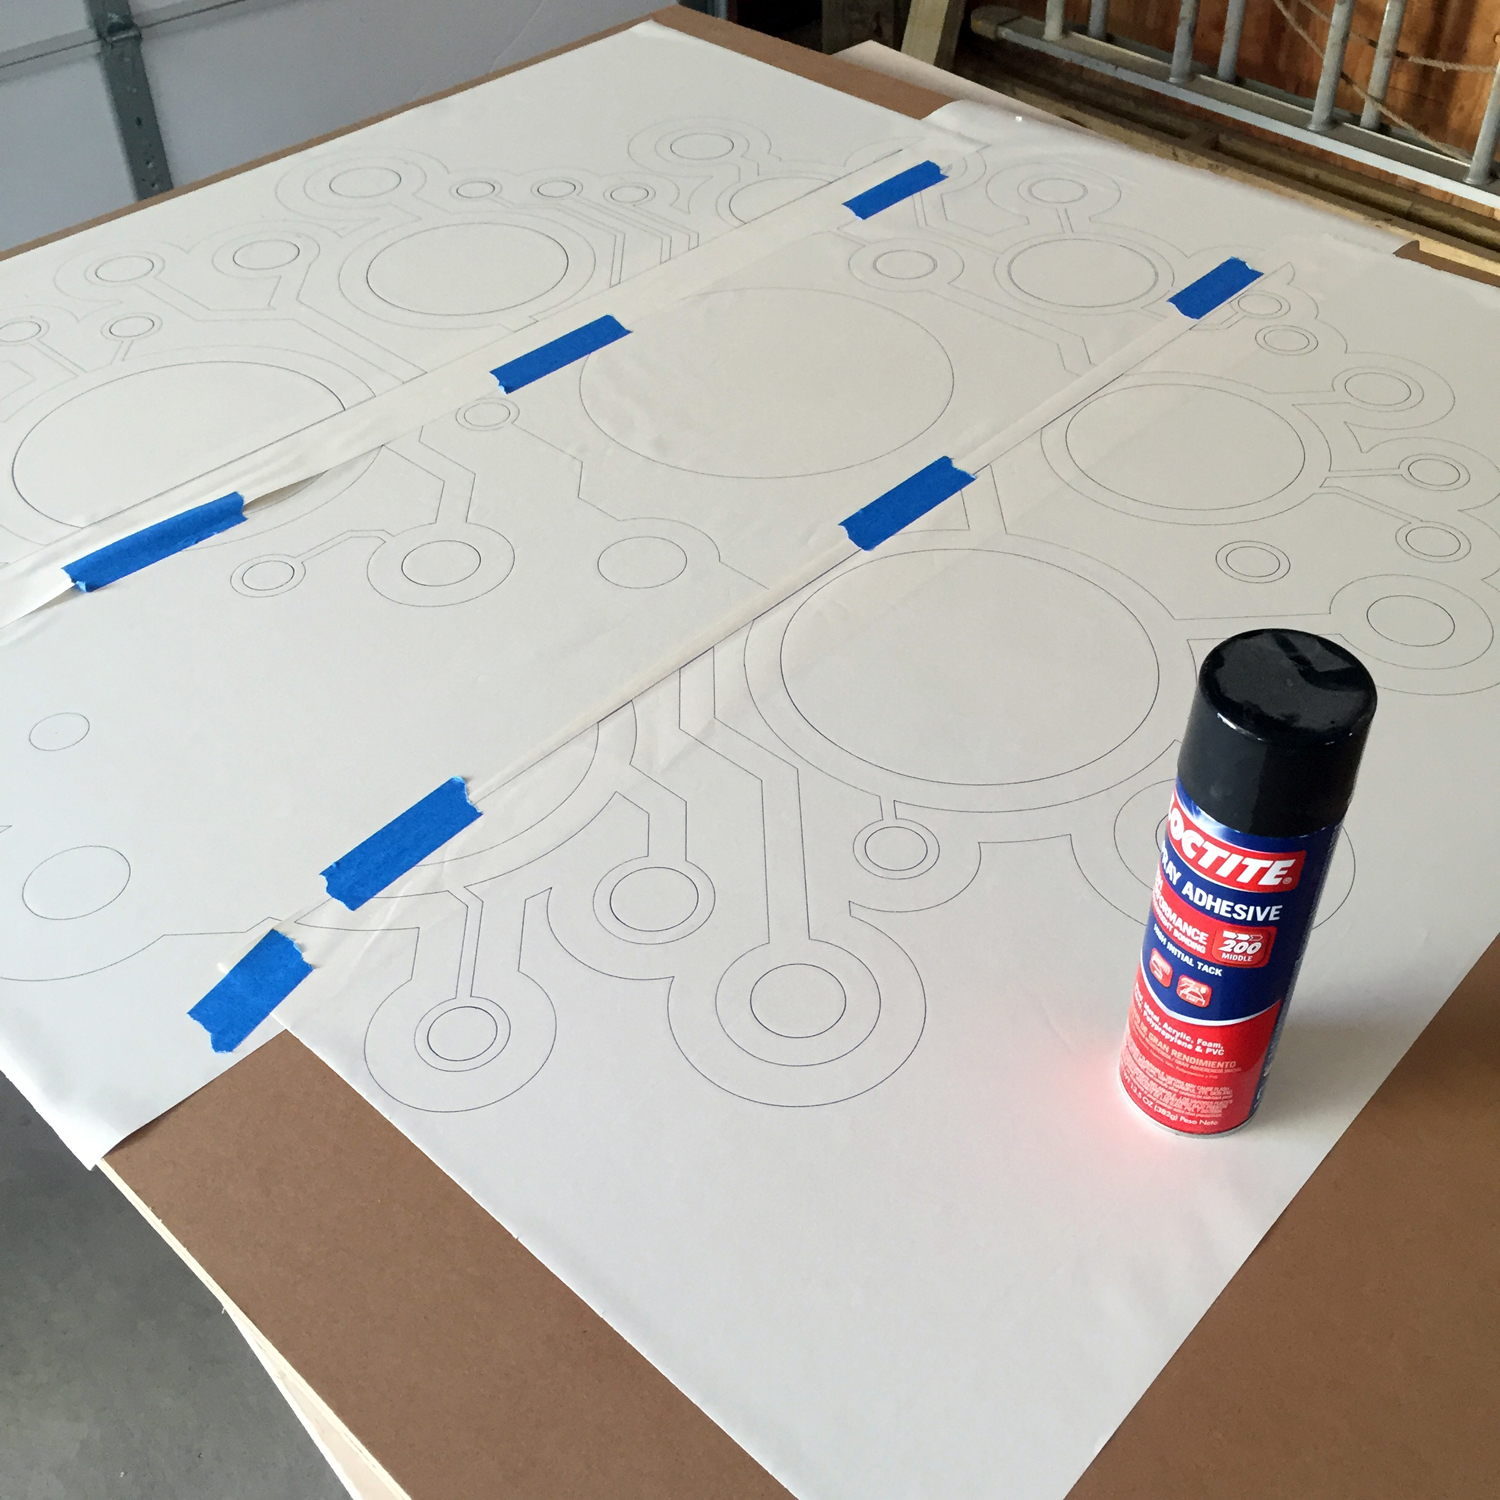
All of this needed to be cut out, of course. Transferring the design to the material was best done by using a pen attachment in the sticker cutter and drawing the designs, sometimes in segments, on rolls of activity paper.

Once it was printed, I used low-tack spray adhesive to delicately adhere it to the sheet of MDO. In this case, I used Loctite 200 Spray Adhesive. It largely comes off with the paper, and anything that’s left can be wiped off with some elbow grease and brow sweat.
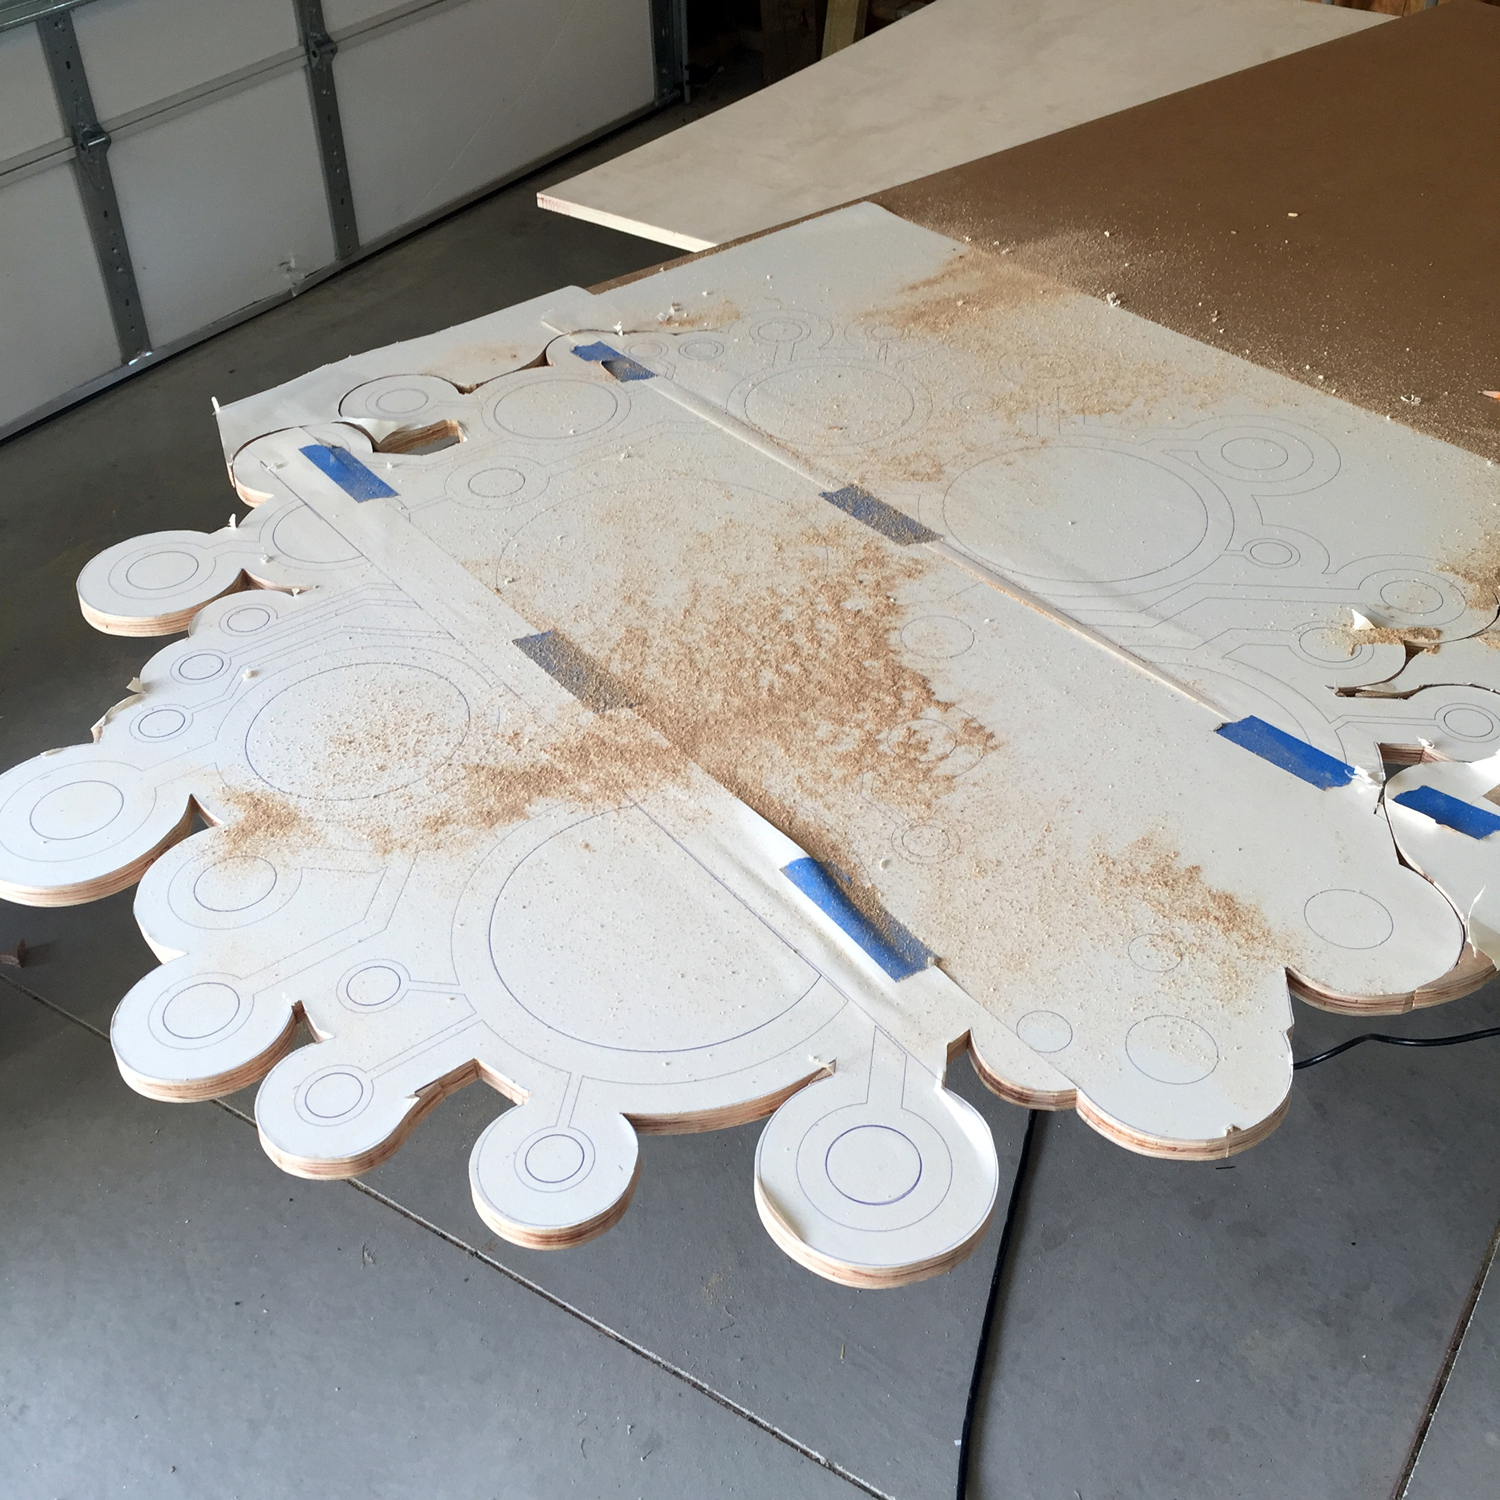
Next was the cutting. Again – the whole project is large – too large to fit on the CNC router, so almost everything was cut with a jigsaw over the course of multiple hours and many-a-cherry pepsi.
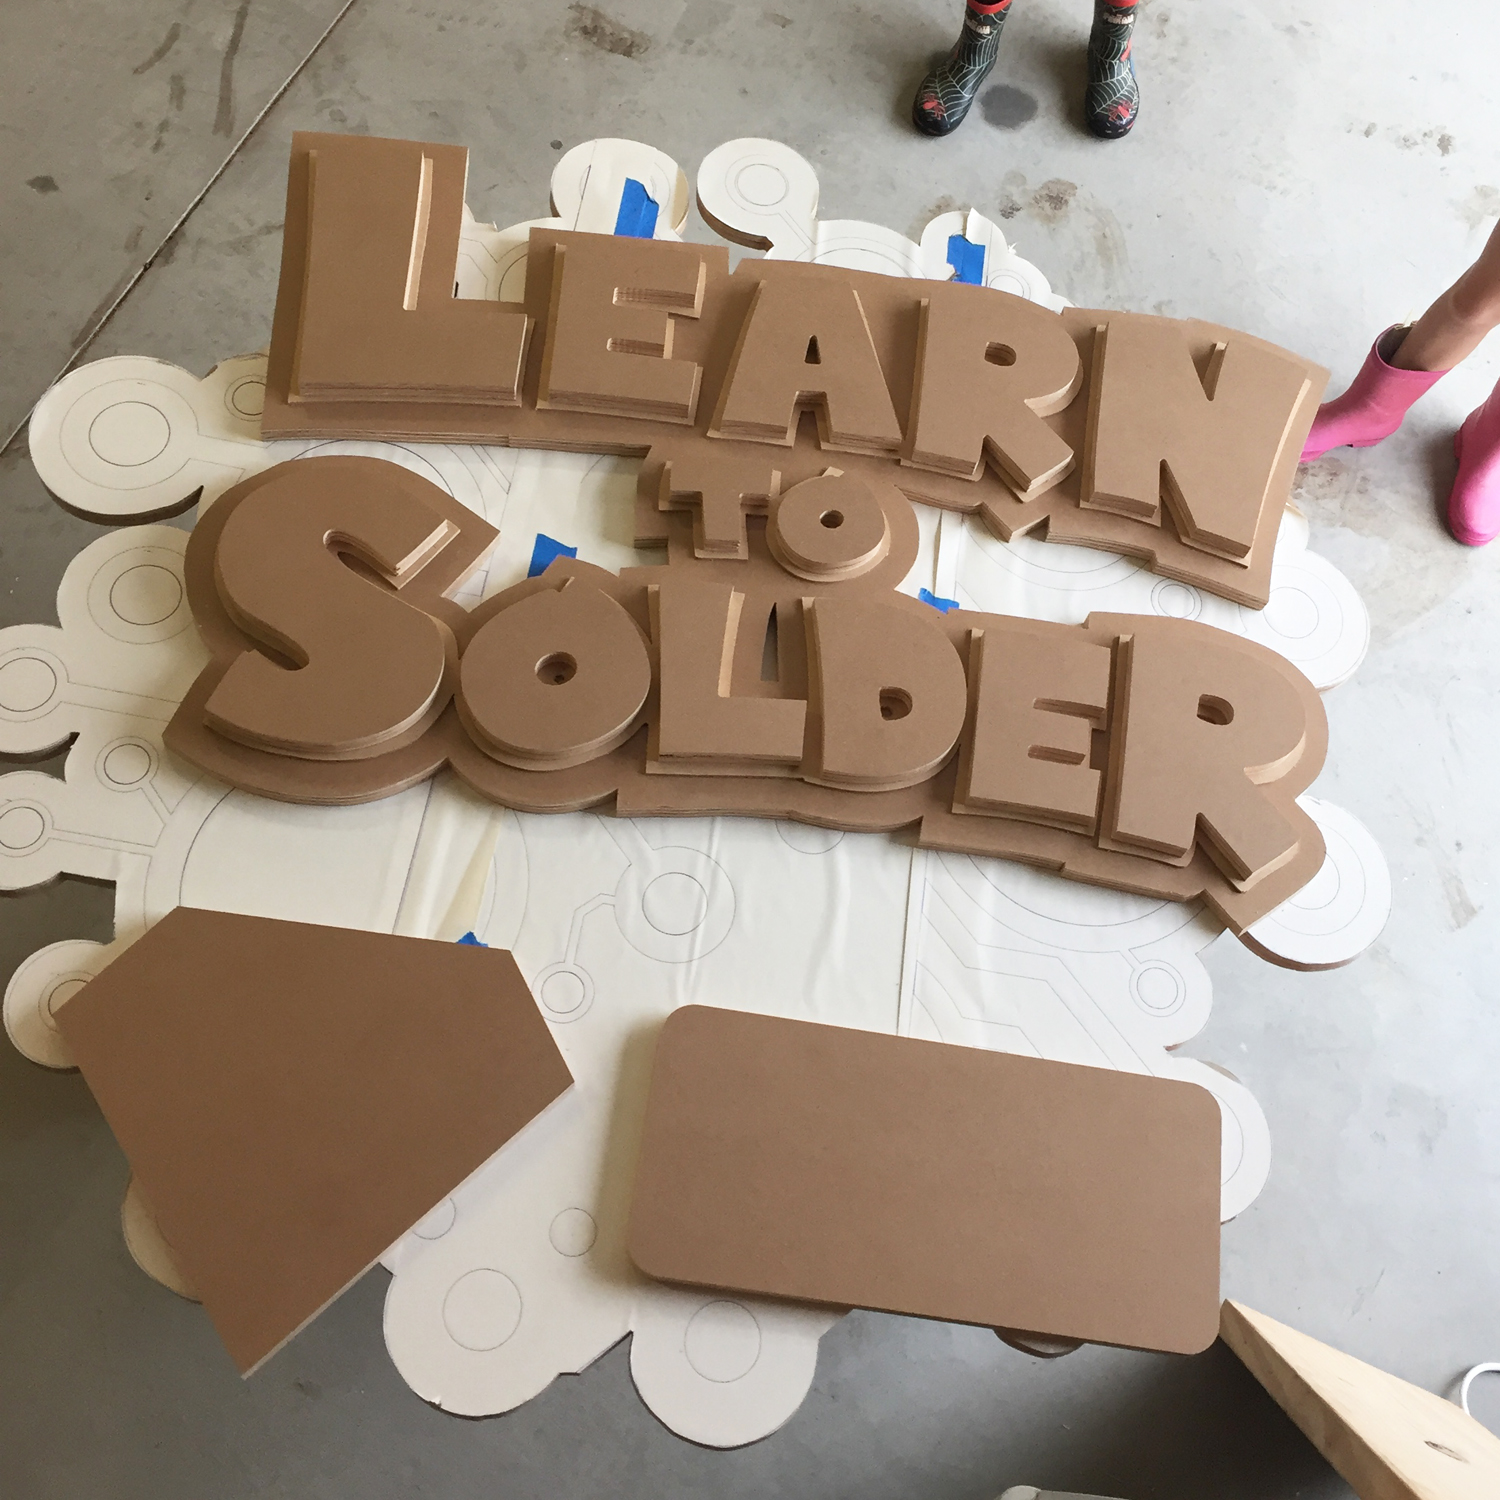
All the things are cut out! I can never resist mocking everything up at this point. The hard part is done, and now I get a chance to mess it all up in the finishing phase. Boot-clad-feet stand by and wait for their opportunity to paint.
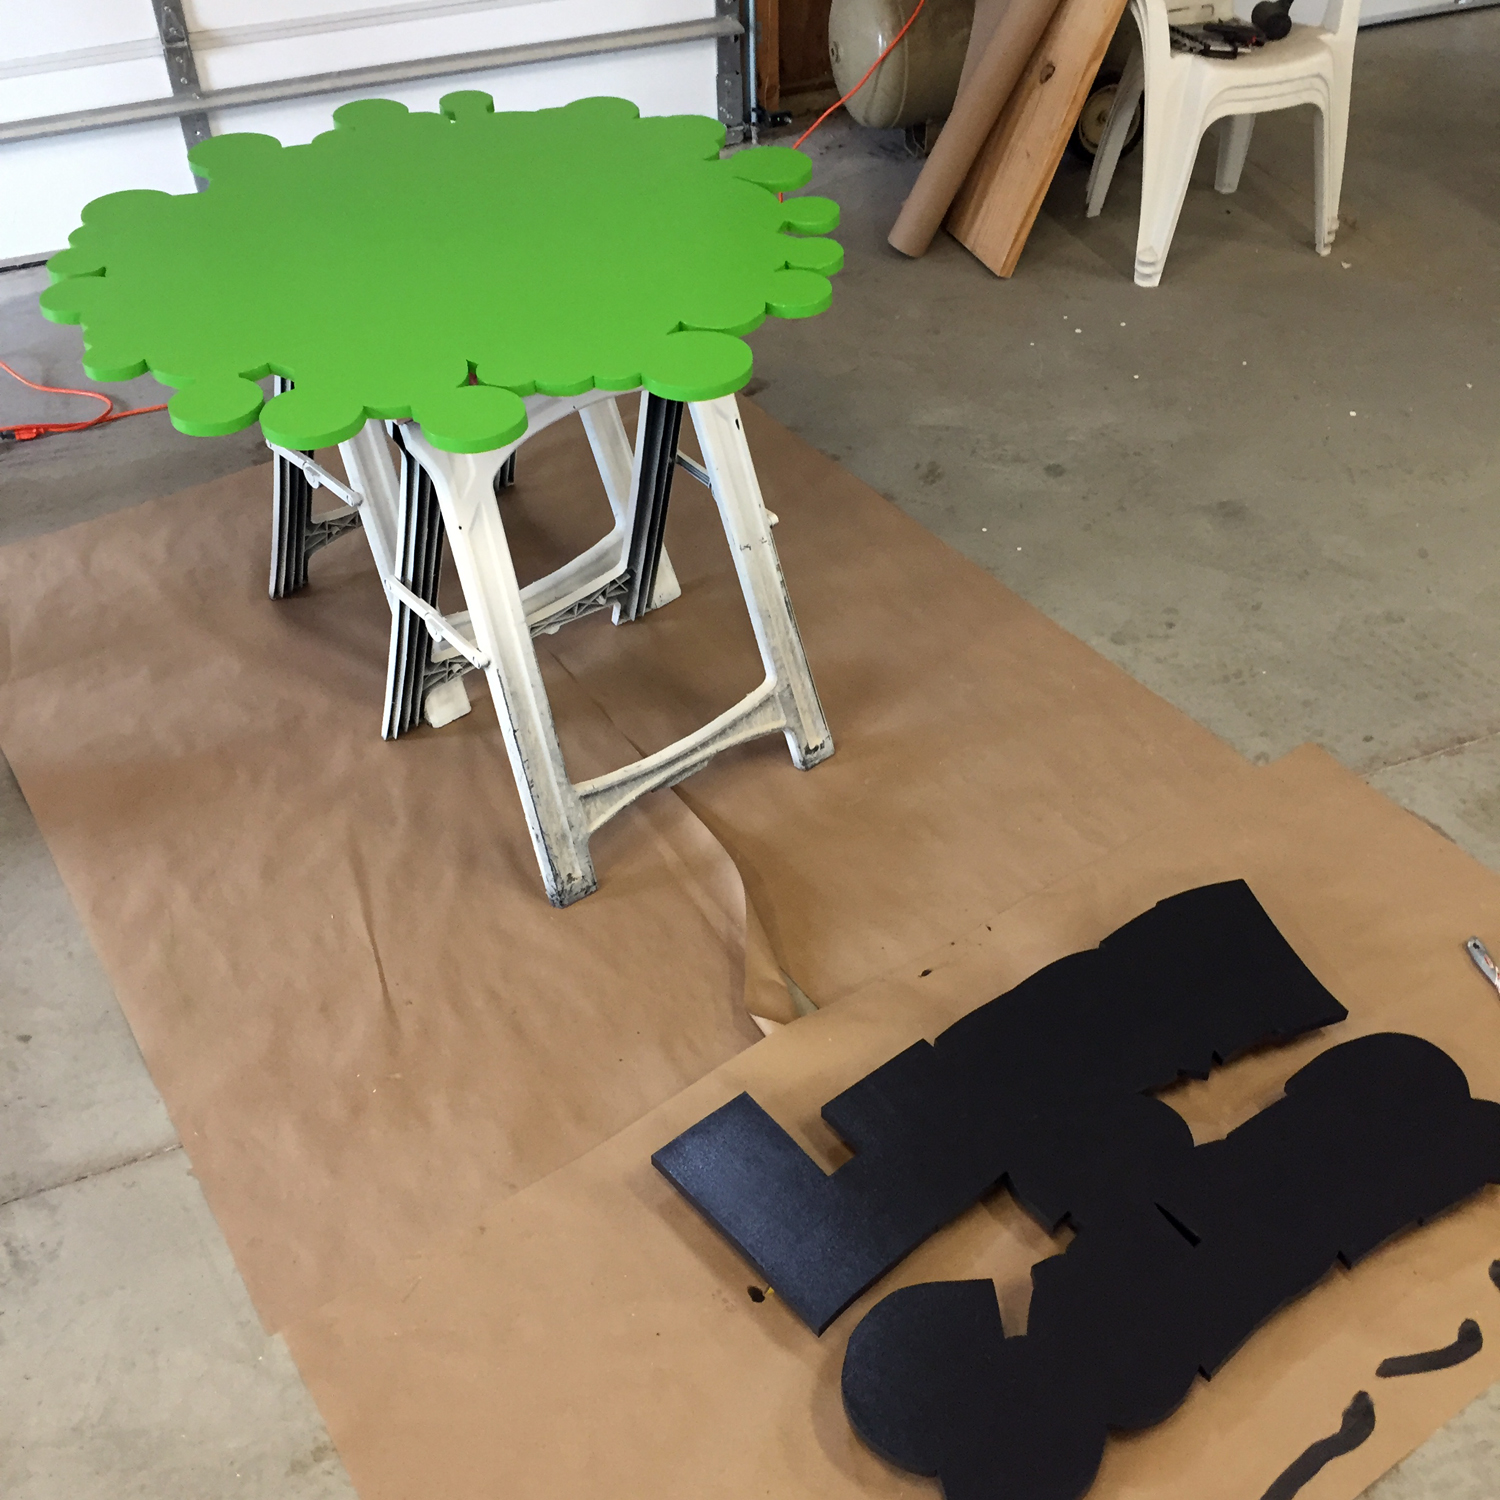
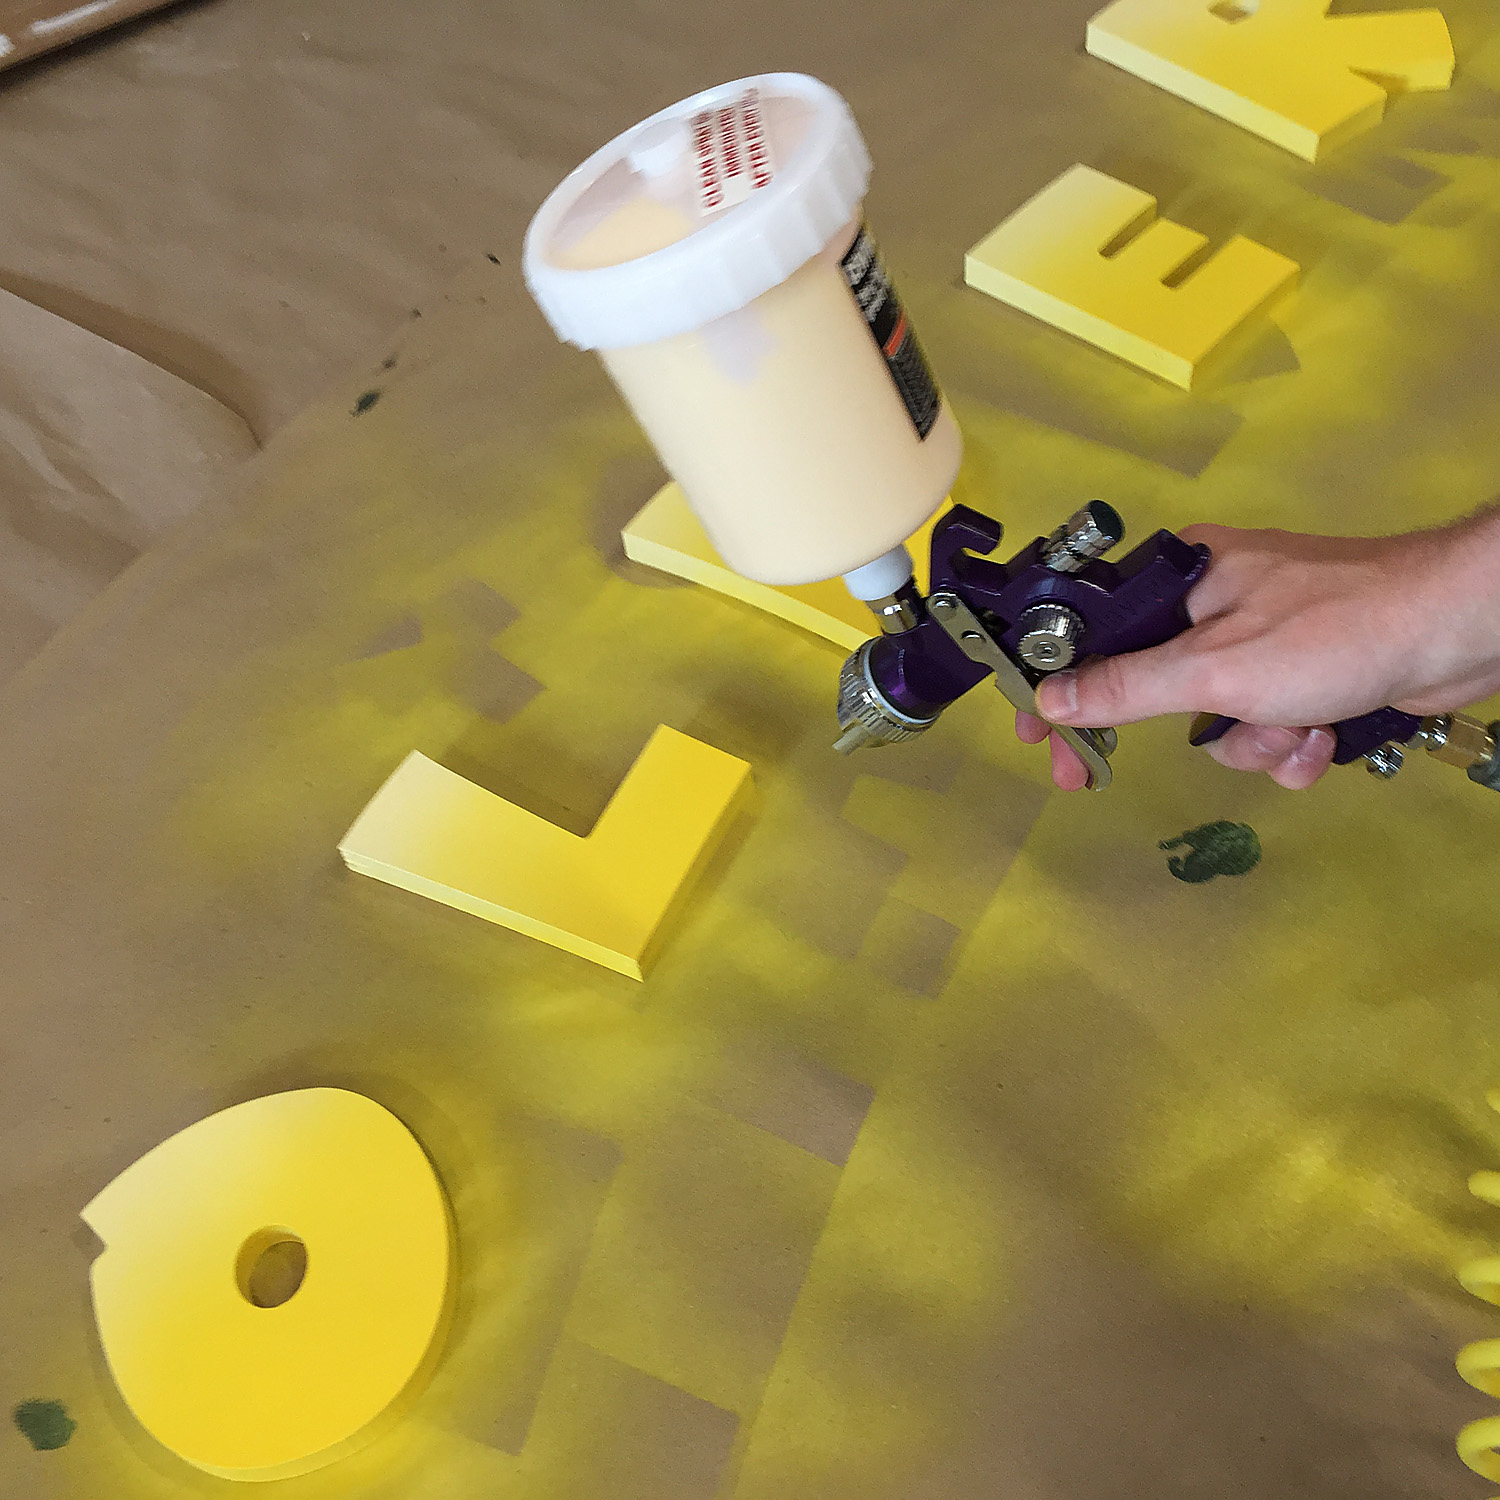
And so we painted. Green. Gray. White. Yellow. Mostly brushing the edges and using smooth rollers. Some spraying.
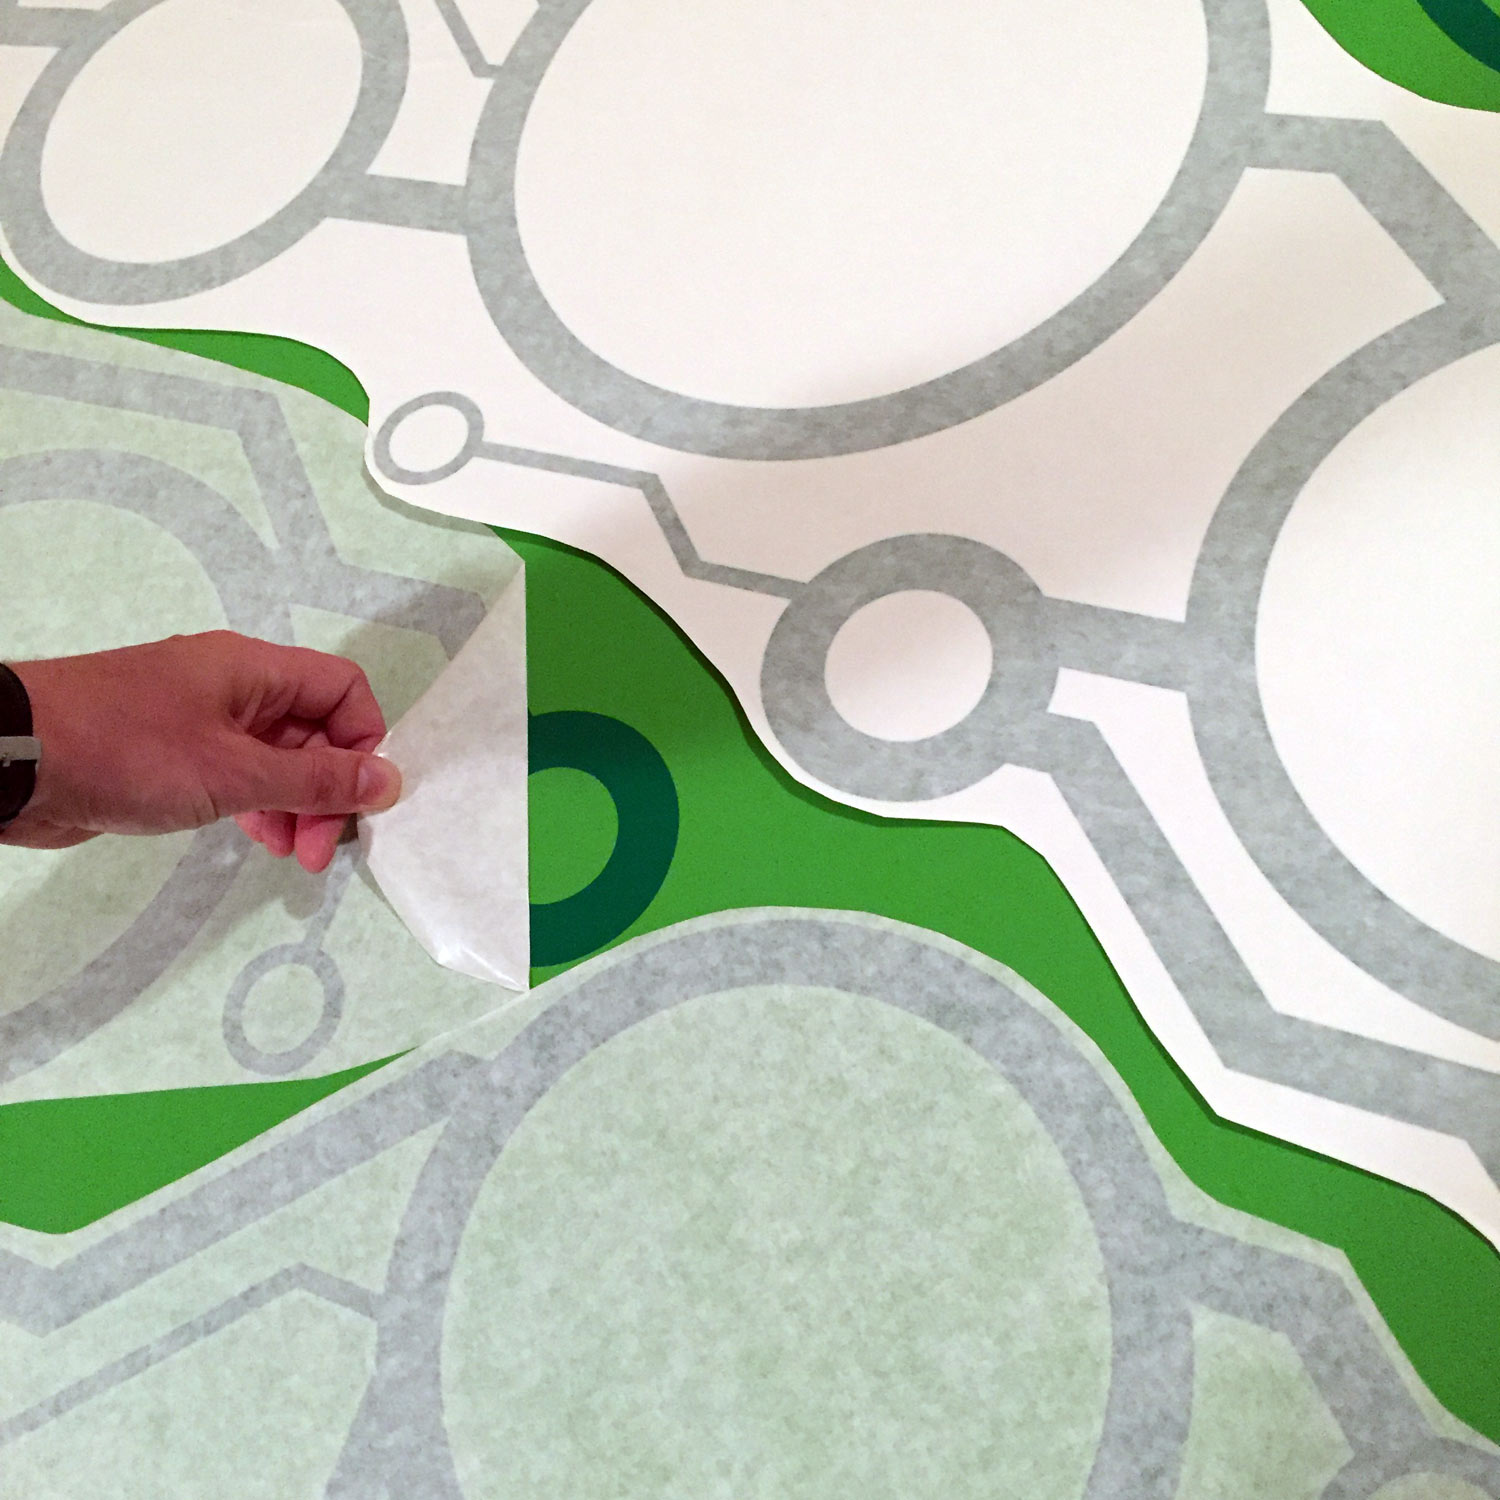
The sponsor logos, as well as the detail on the circuit board were best done on the vinyl cutter with ease, then applied to the MDO substrates. Hey, Proto!
![]()
Then, assembly!
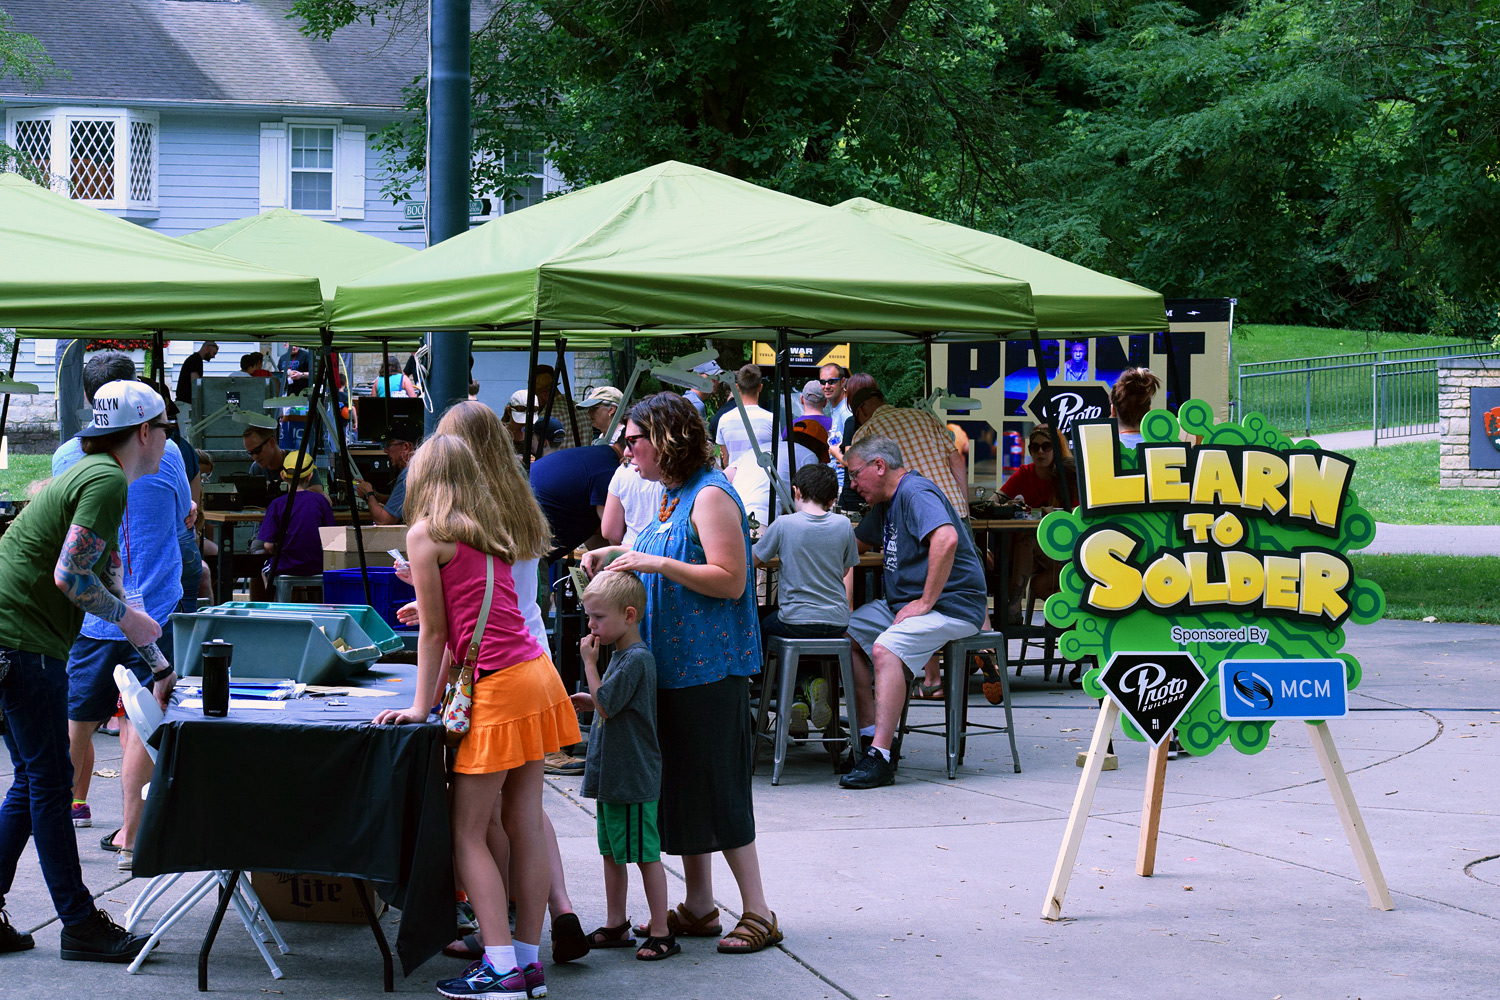
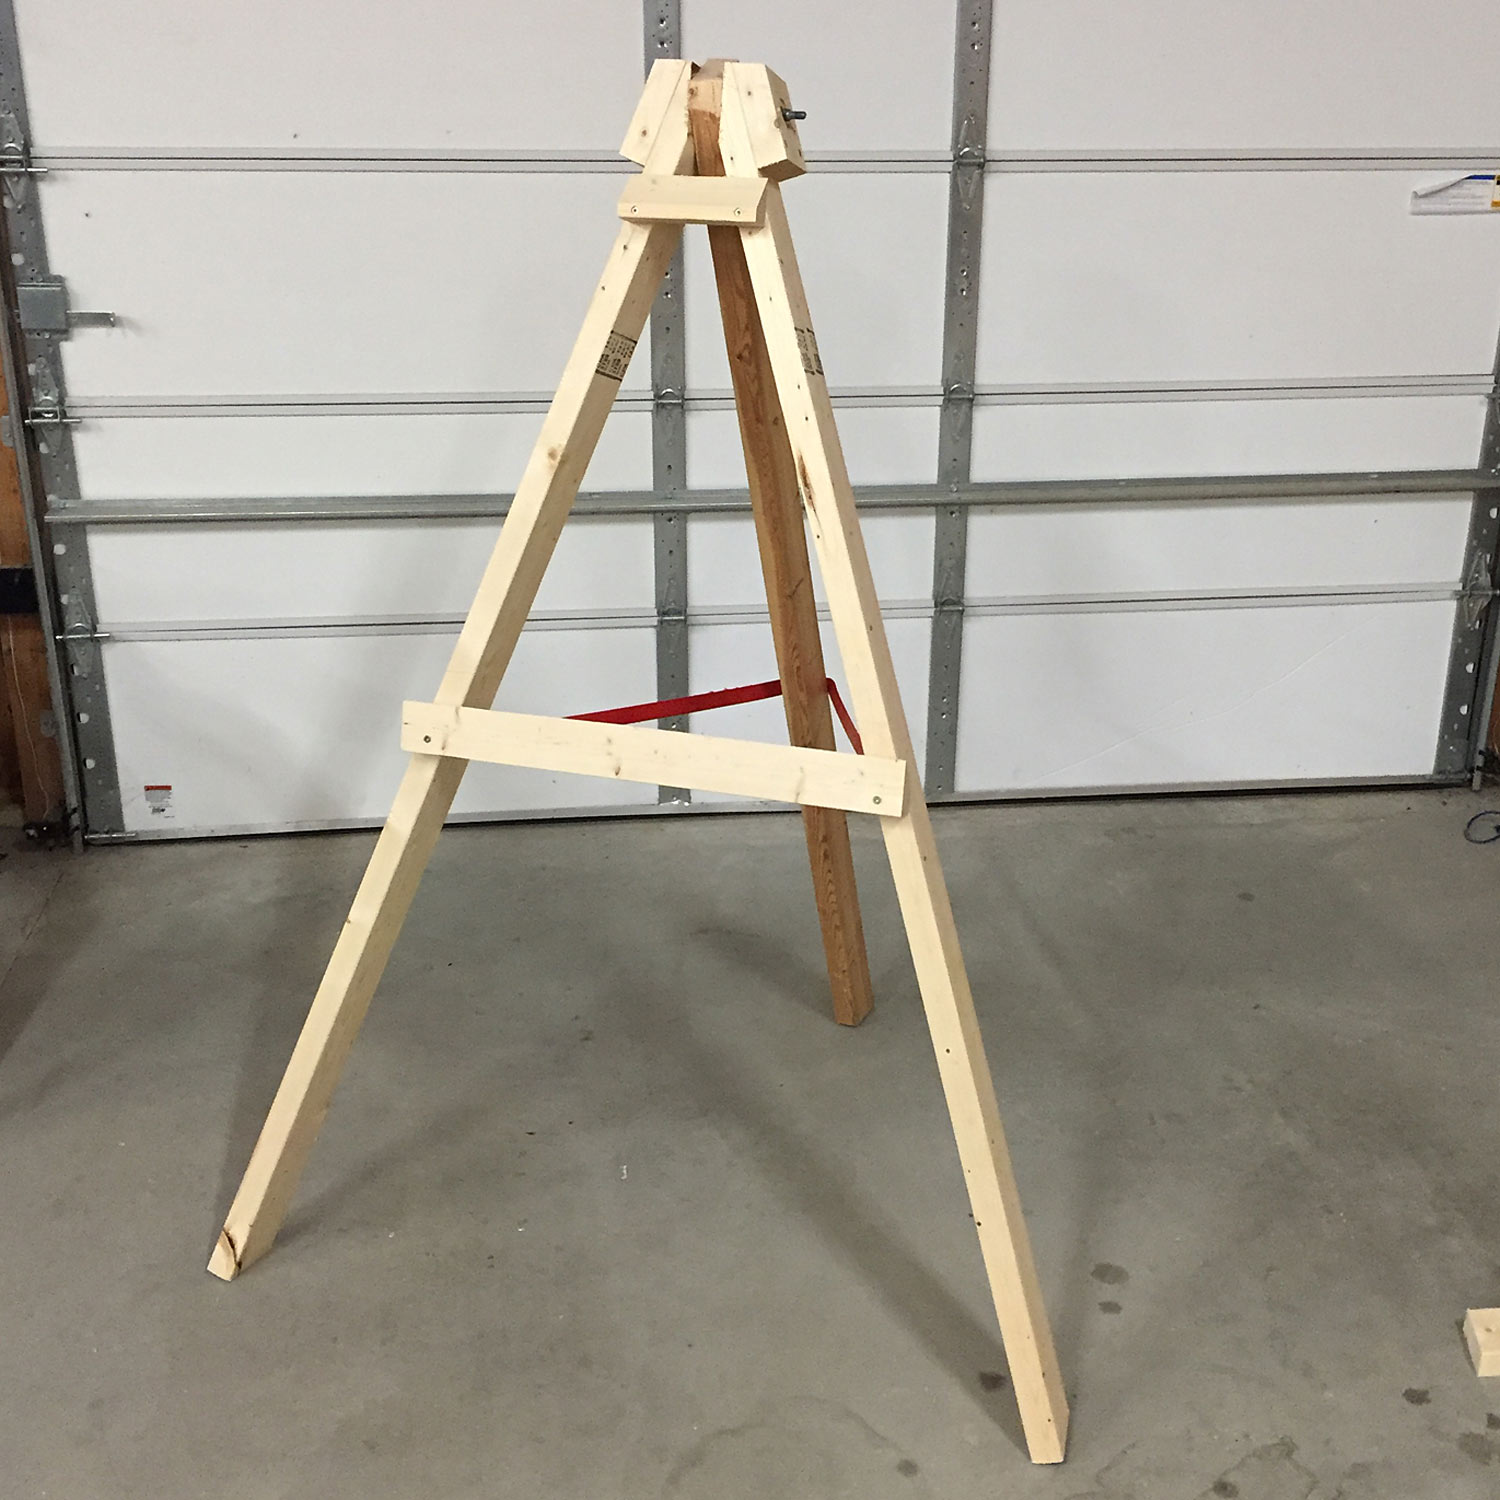
Because of the location of the Learn to Solder booth at the Maker Faire, it was necessary for the sign to be free standing. Some quick work using a few 2x4s and I had an easel-style stand, keeping the sign in place with a french cleat.
In the end, it turned out great, and will do a great job of drawing attention to and identifying the Learn to Solder booth!