The Moist Family Sign
Since moving into our new home a few years ago, we’ve struggled to “make it our own”. We’ve painted, recarpeted, finished, and it’s coming along. I thought it would be a great idea to come up with some sort of sign that could hang by the road that could really add something unique to the home. I started toying with the idea of creating a 3-dimensional sign made of wood. While it would be a challenge, I figured it could be done by hand, with chisels and other woodworking tools. The idea kind of remained in the back of my mind for a while.
Mrs. Moist like chickens. We have a few Rhode Island Reds, and a few Black Australorps. She also collects different chicken decorations and the like. So naturally, the sign would have a chicken.
Seemingly by design, a guy named Michael came to work at MCM. He had moved into to town into a house with a garage that was a bit small for all of his toys. One of those toys was a CNC router – a CNC router with a 24×32 bed! It ended up finding a temporary home in my workshop, which gave him a place near by to store it, and gave me a new toy to mess with.
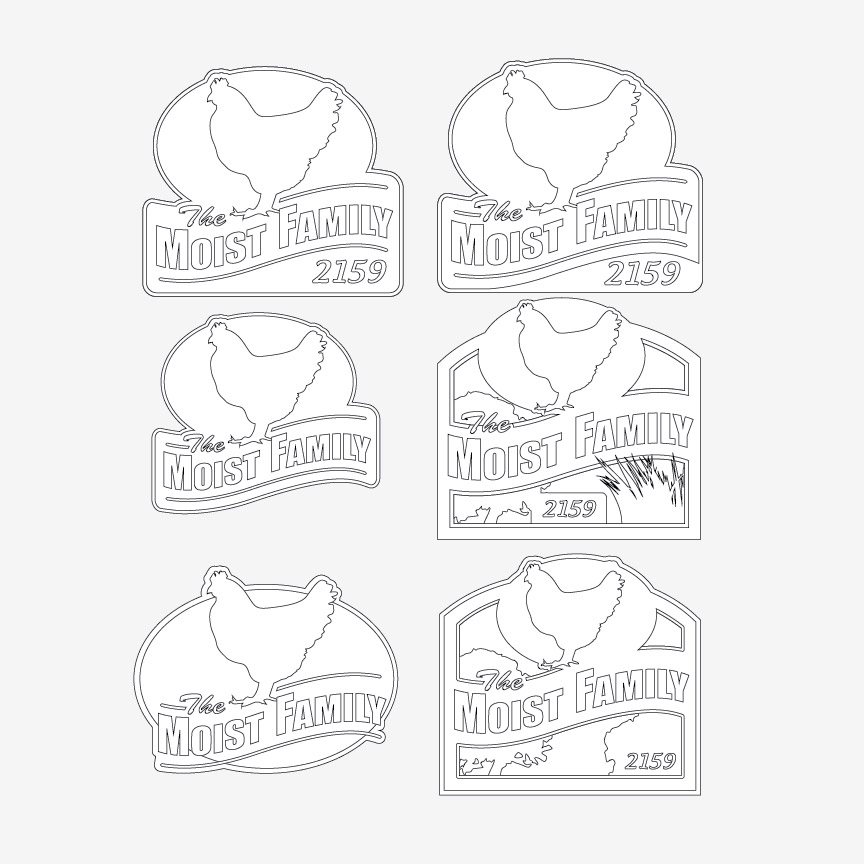
Michael was kind enough to give me some lessons on how to go from the designs I was making in Illustrator to a finished product. From that point on, I set out on an adventure to make Mrs. Moist’s Christmas present. I routed a few bits using wood that was laying around the shop.
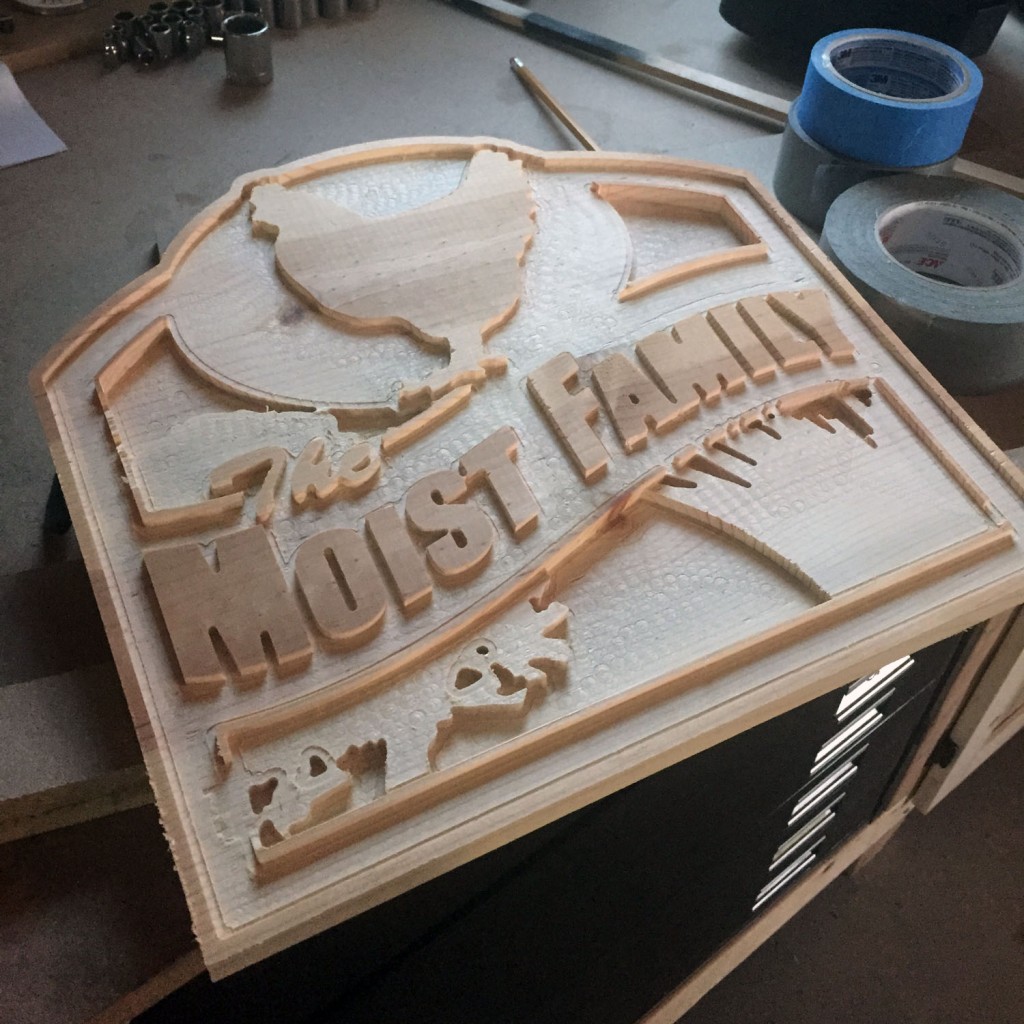
It was neat to see the router plunge and move on its way to the final product. The soft pine used in the test above illustrated a few of the first lessons I learned. Hardwood was going to be a requirement for a piece this size, the design was going to need to be more simple, or the size was going to have to increase.
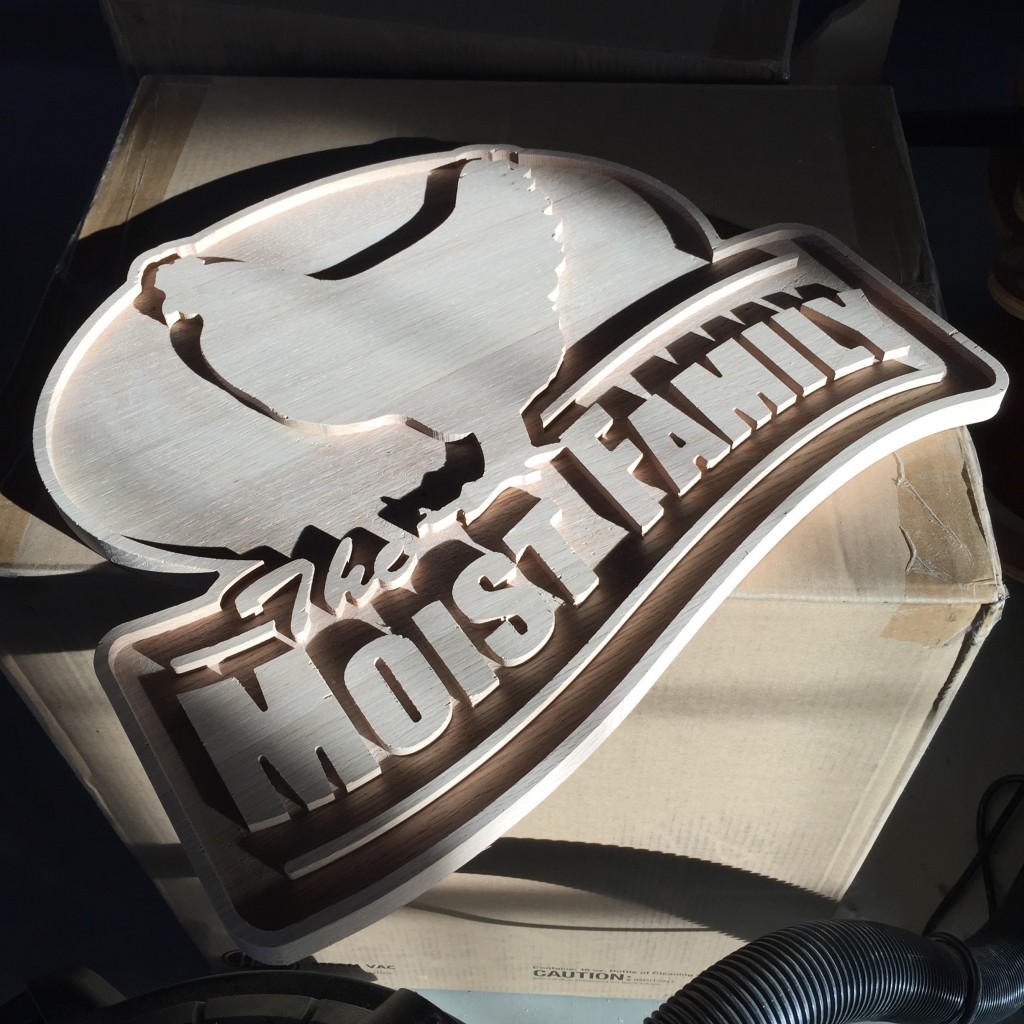
As time progressed, so did my preference for the design. I did another sign with hardwood oak in a bit larger sale that turned out very well, which will be part one on wifey’s Christmas gift. I think it will look great in the kitchen.
Part two would be the mailbox sign. Since it will be outside, I planned on using cedar, and making a decent bit bigger than the last sign – about 22×28. Additionally, it would be two sided, so people coming both directions on our road can see it. Admittedly, a double sided sign is a bit more difficult, but hey, I’m always up for a challenge.
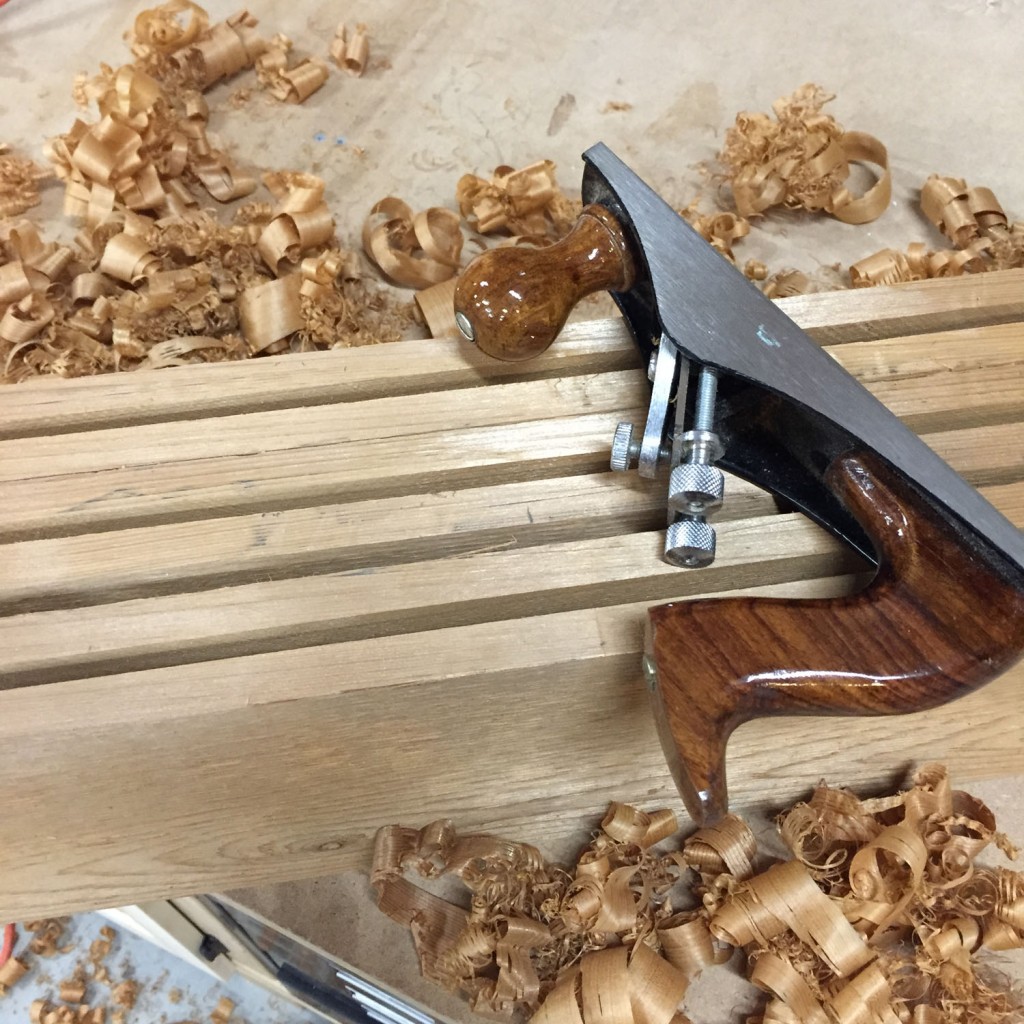
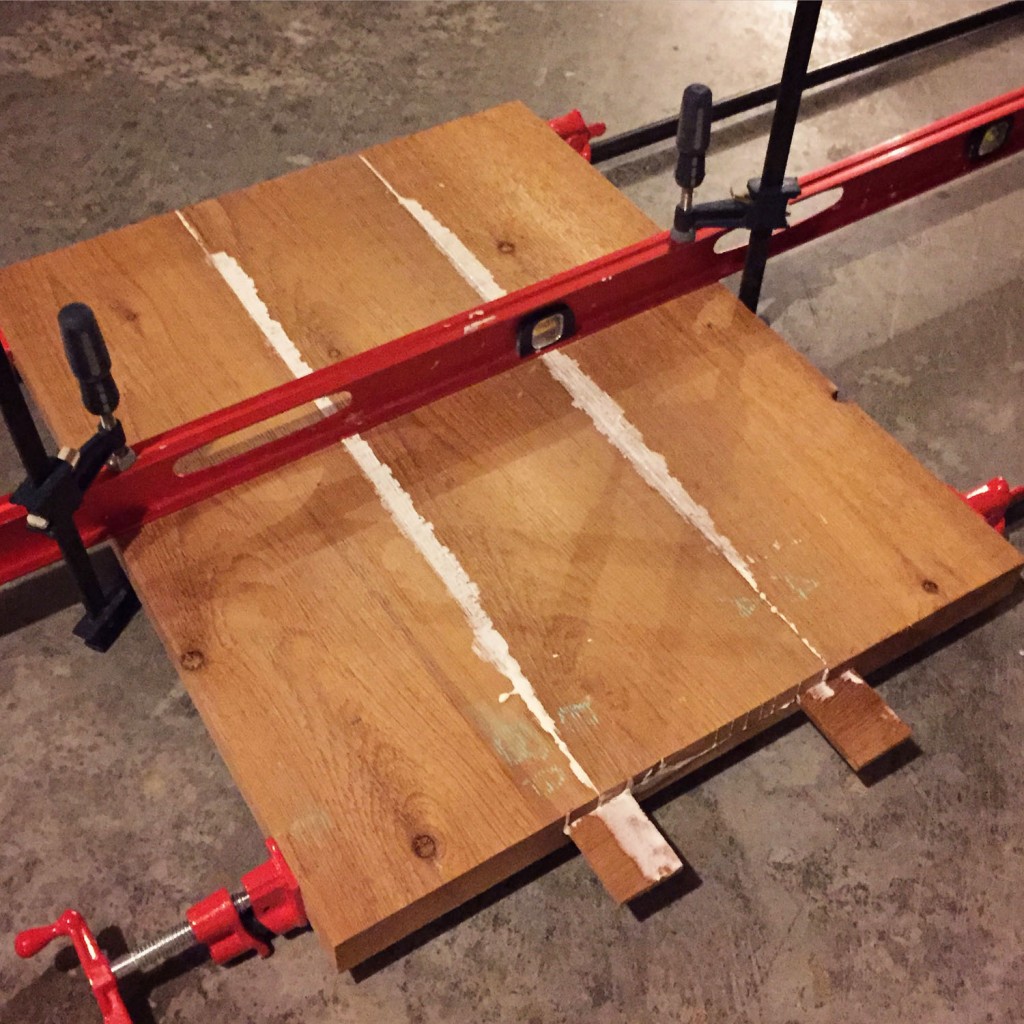
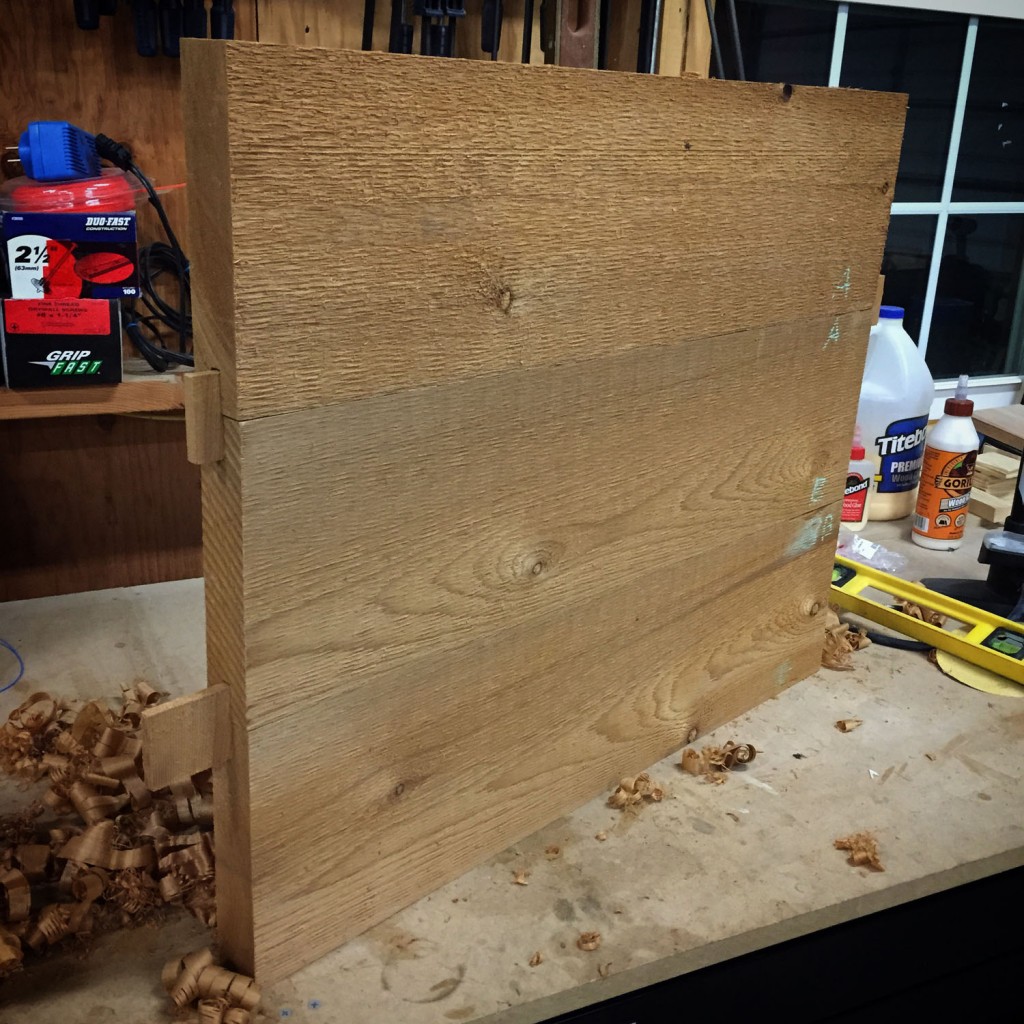
I bought an 2x8x8 rough cut beam of cedar, cut it in 3, then hand jointed the edges, inserted tongues and glued it up.
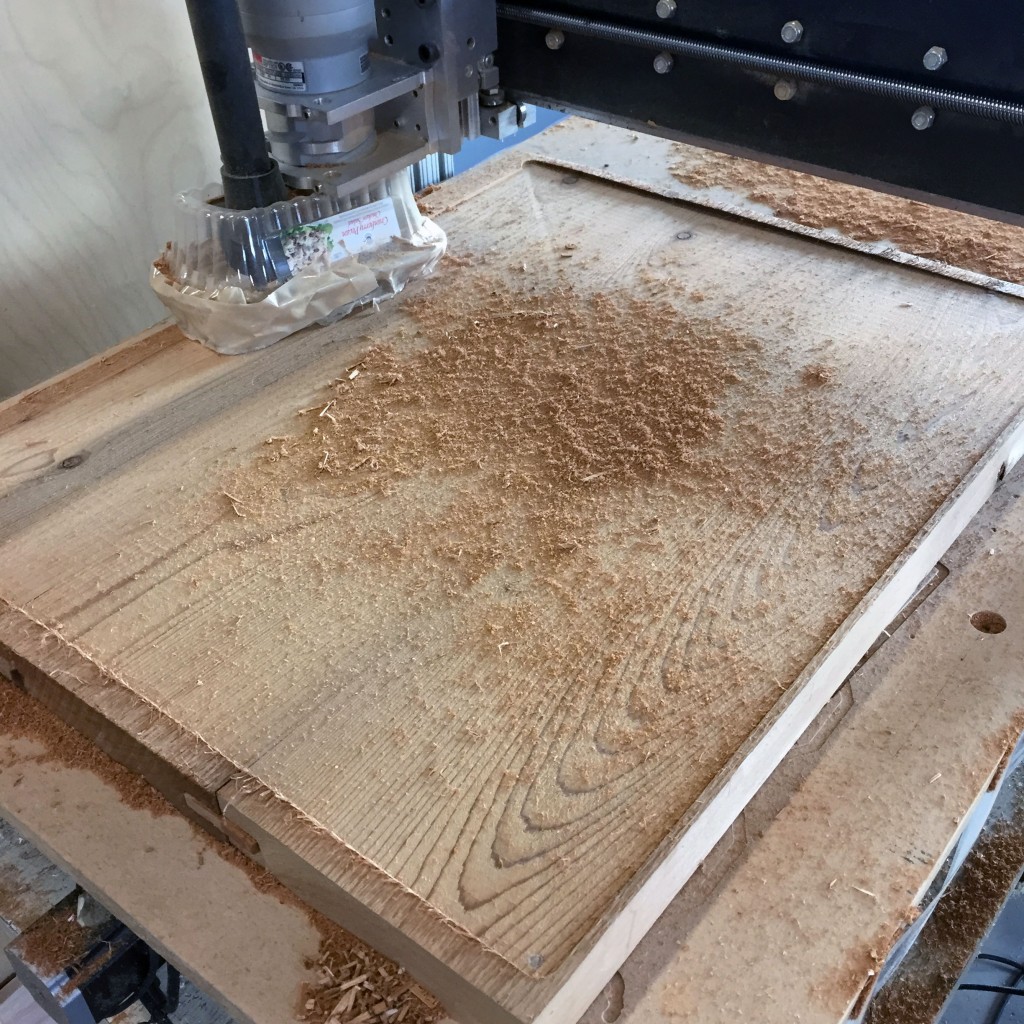
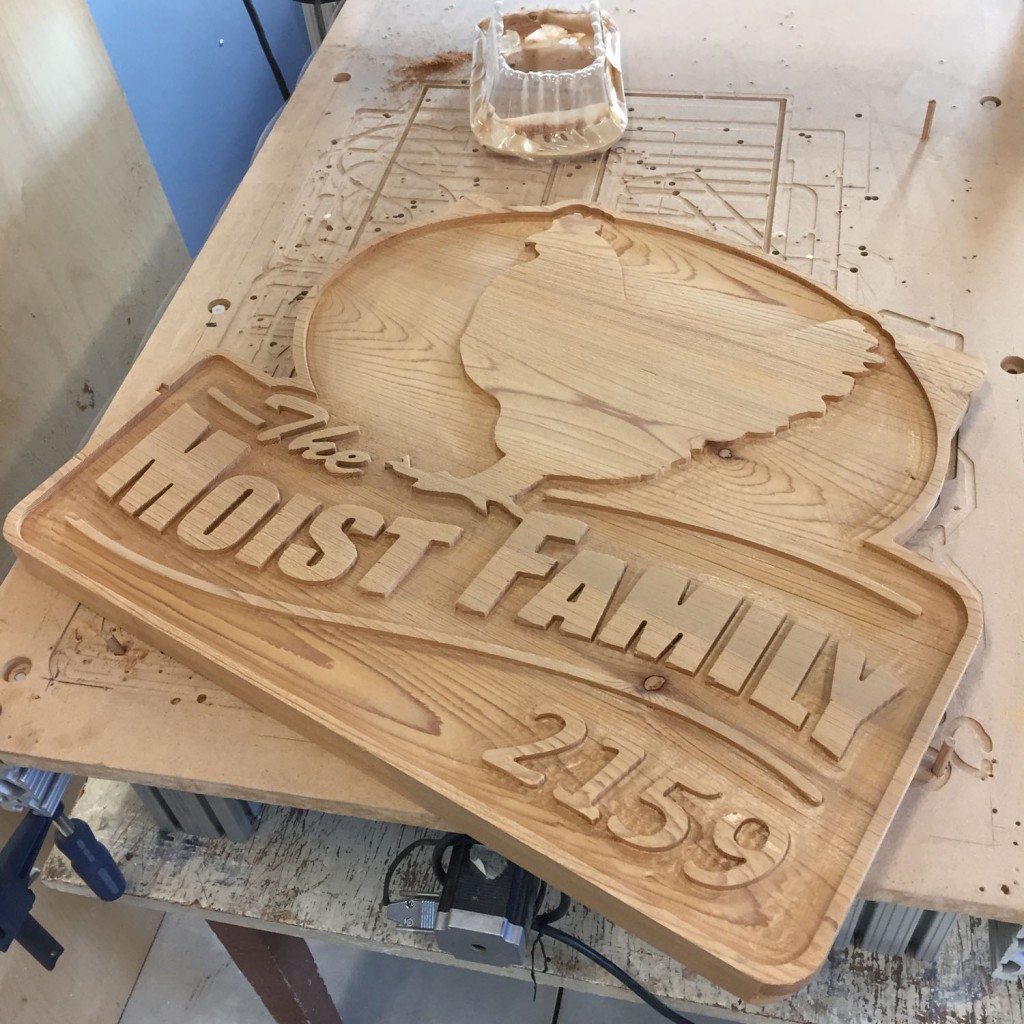
I used the CNC router to route holes for dowels to keep the stock in position on the bed, then using a 3/4″ bit, milled both sides of the sheet perfectly flat. Once that was done, I milled the design on the front side, then flipped it over, aligning it via the dowels, and milled the other side.
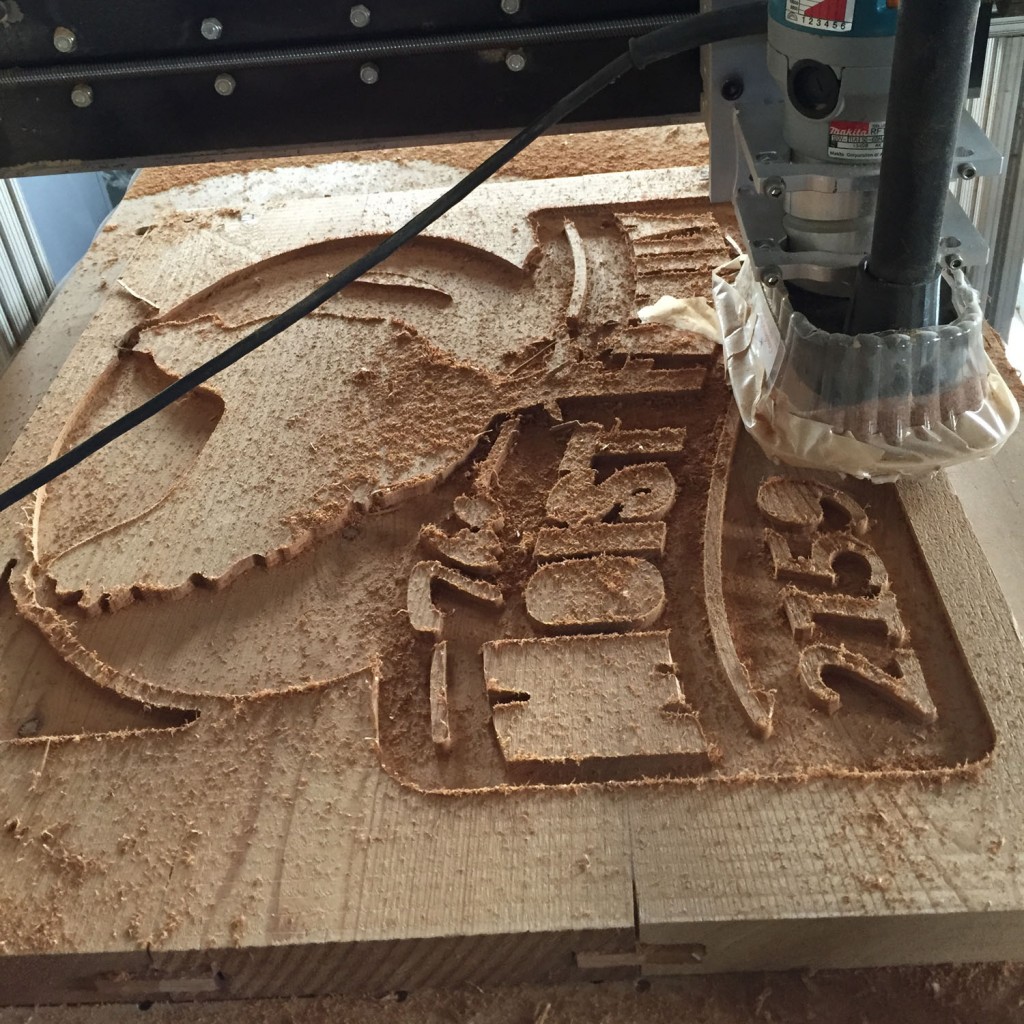
At this point, it was time to load and mill the design into the slab of cedar.
Here is the raw product, after some light sanding.
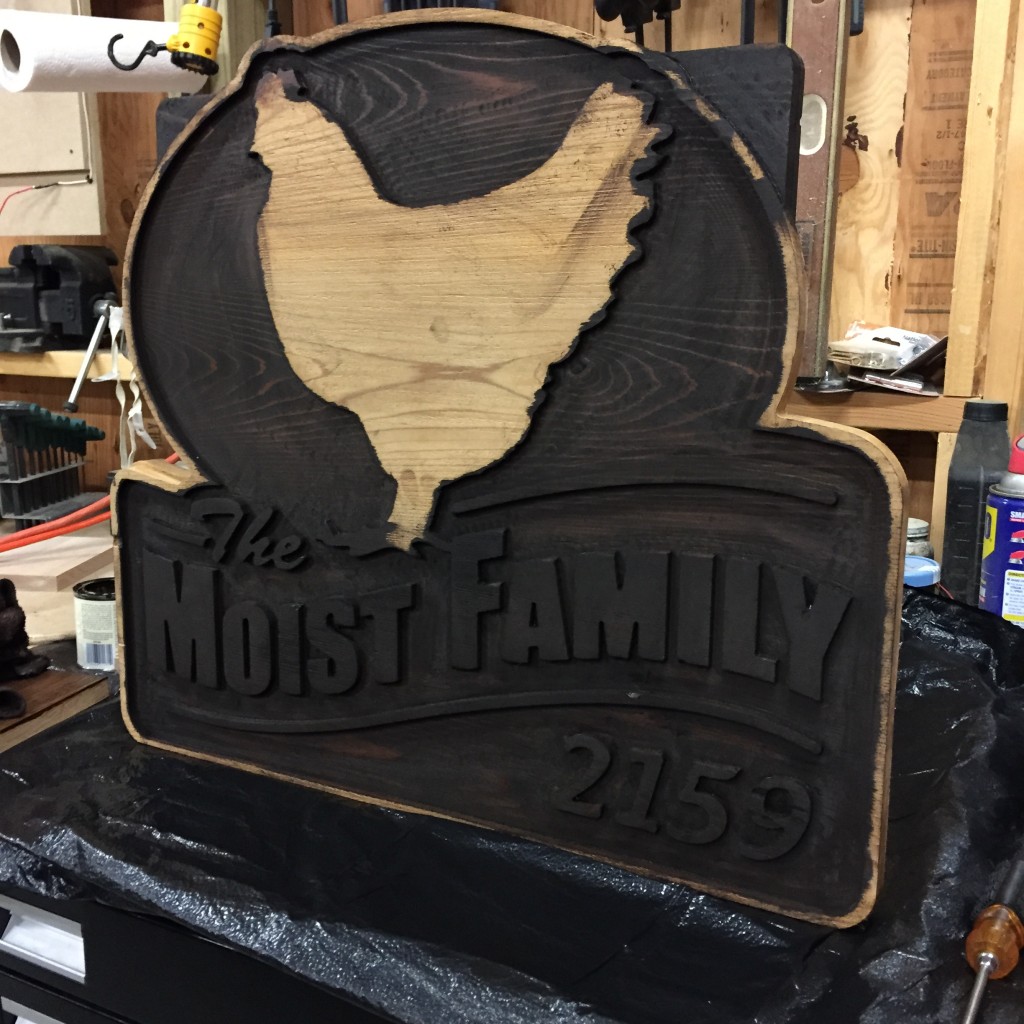
Finishing involved a dark stain all over. I used “kona” by Varethane, which goes on in one coat. Brush on with a foam brush, wait ten minutes, and wipe off with a cloth. The soft cedar accepted the stain well and achieved a nice, dark color.
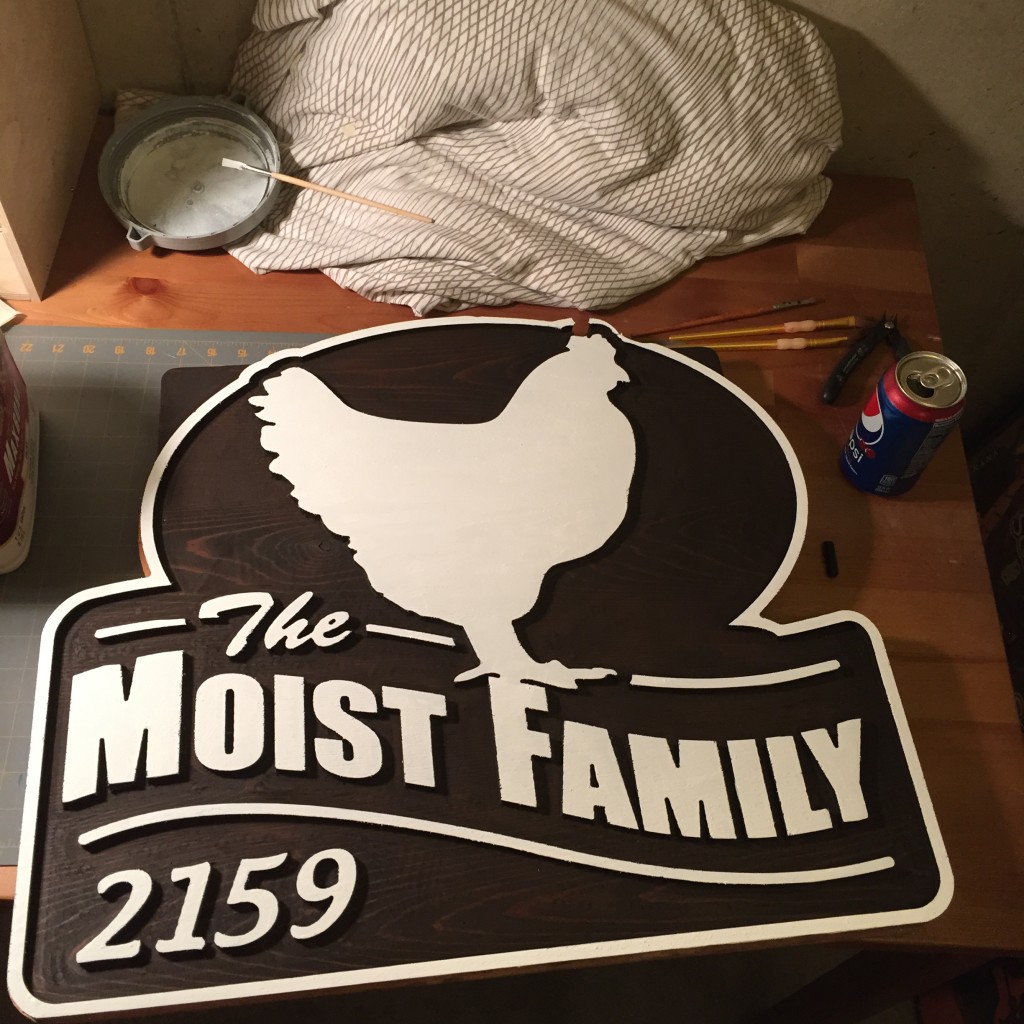
Next, flat white paint was applied only to the raised sections using a foam brush. I used flat to ensure good adhesion between the paint and protective polyurethane. Holding the brush at a shallow angle really helps in ensuring paint only gets on the raised surface, and not on the sides. This was time consuming, but the results after a couple coats were great!
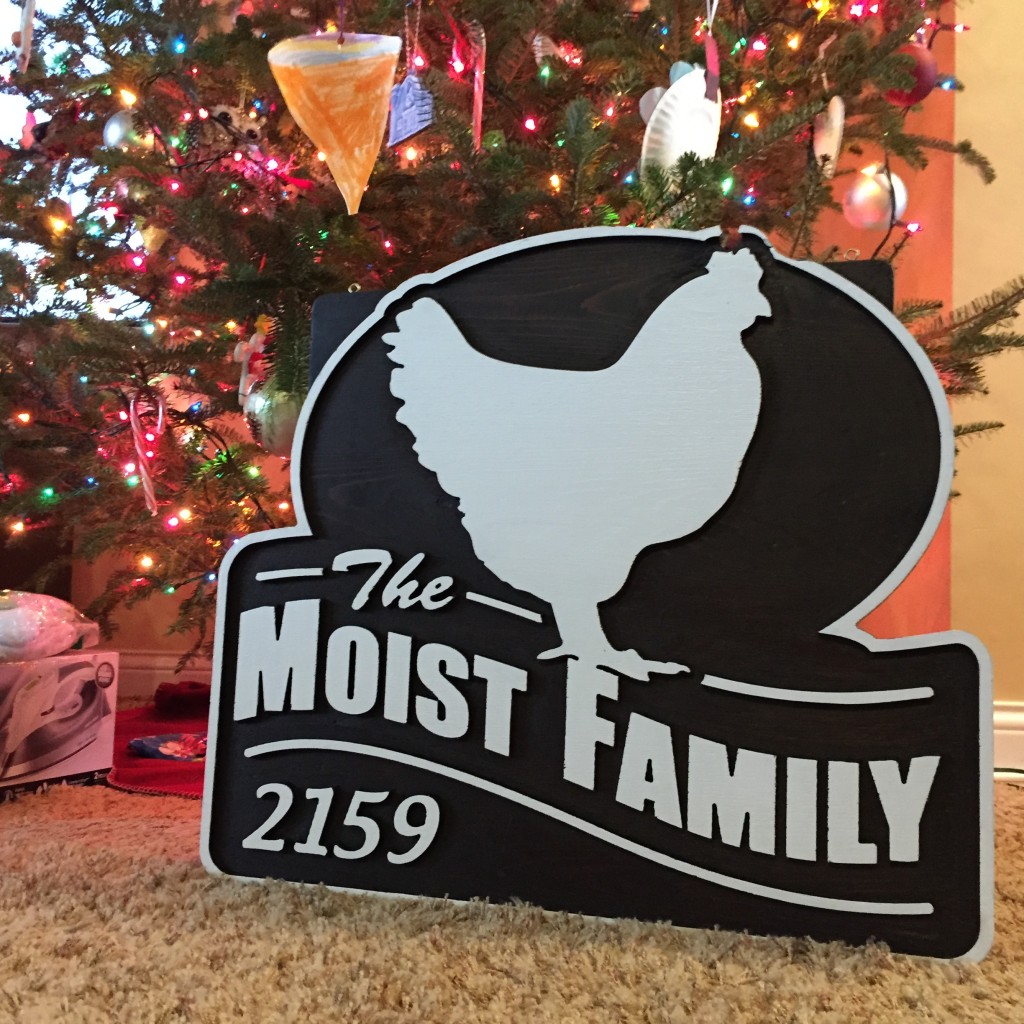
Finally, the entire sign was sprayed with Varethane satin spar polyurethane to add protection from the elements. Here it is under the Christmas tree. Stainless hooks will be installed in the top of the sign, and it will be hung outside.

